
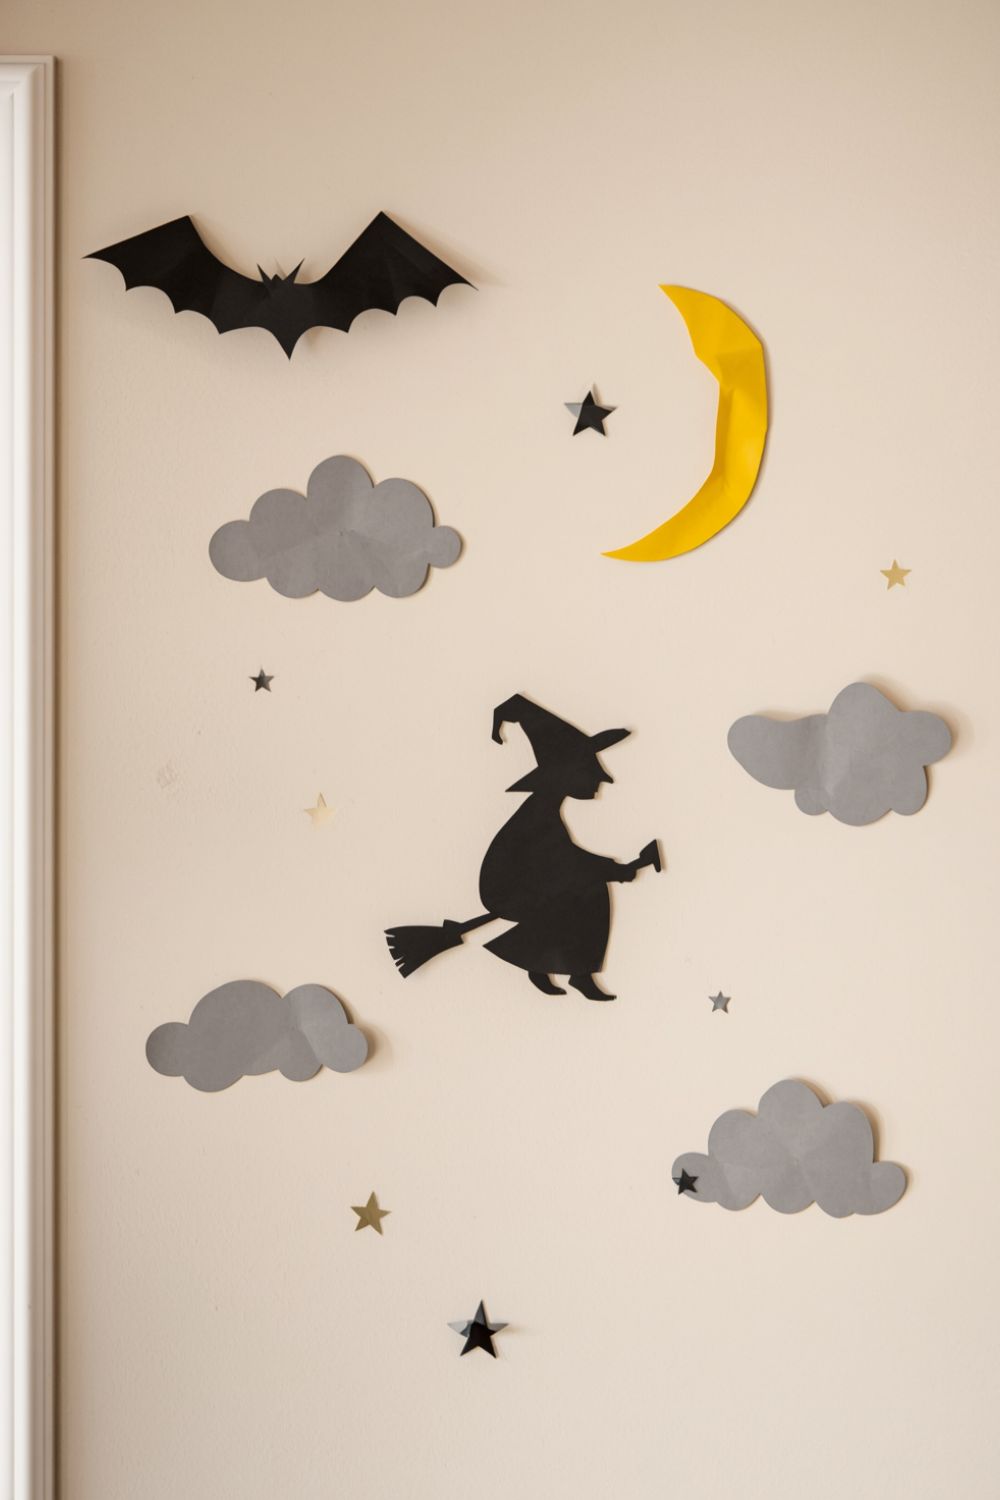
Halloween decorating does not have to be expensive or complicated. With simple household supplies, inexpensive materials, and a little creativity, parents and kids can make fun Easy DIY Halloween Decorations together. From spooky doors and windows to playful porch and yard displays, these ideas are simple, budget friendly, and perfect for creating a festive Halloween home.
1. Mummy Front Door

Materials: White toilet paper or crepe paper, black paper, tape, scissors, cardboard.
Step by step:
- Clean the front door so the tape sticks properly.
- Cut long strips of white paper or use toilet paper.
- Wrap the strips across the door in different directions.
- Leave small gaps so the door still looks like a mummy.
- Cut two large round eyes from black and white paper.
- Attach the eyes near the upper center of the door.
- Add a few loose strips around the sides for a worn mummy look.
- Check that the door handle and lock remain easy to use.
- Add a small Halloween sign below the mummy face.
- Related post From Boring to Boo-tiful: 21 Halloween Classroom Decorations for an Instant Classroom Makeover
2. Floating Ghost Porch
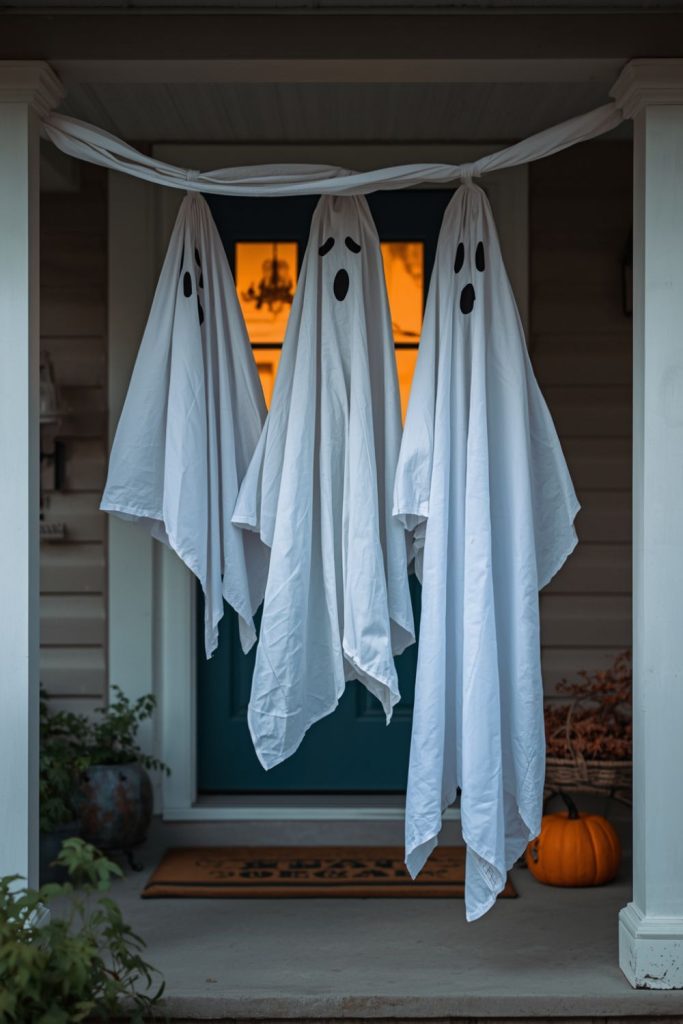
Materials: White fabric or old white pillowcases, string, balloons or lightweight balls, black marker, tape.
Step by step:
- Inflate a small white balloon or place a lightweight ball inside the fabric.
- Cover it with the white fabric.
- Tie the fabric underneath the head with string.
- Draw two eyes and a mouth using a black marker.
- Attach a long piece of clear string to the top of the ghost.
- Hang the ghosts from the porch ceiling.
- Place them at different heights.
- Make two or three ghosts with different facial expressions.
- Test each ghost to make sure it hangs safely and does not block the walkway.
3. Haunted Window Silhouettes
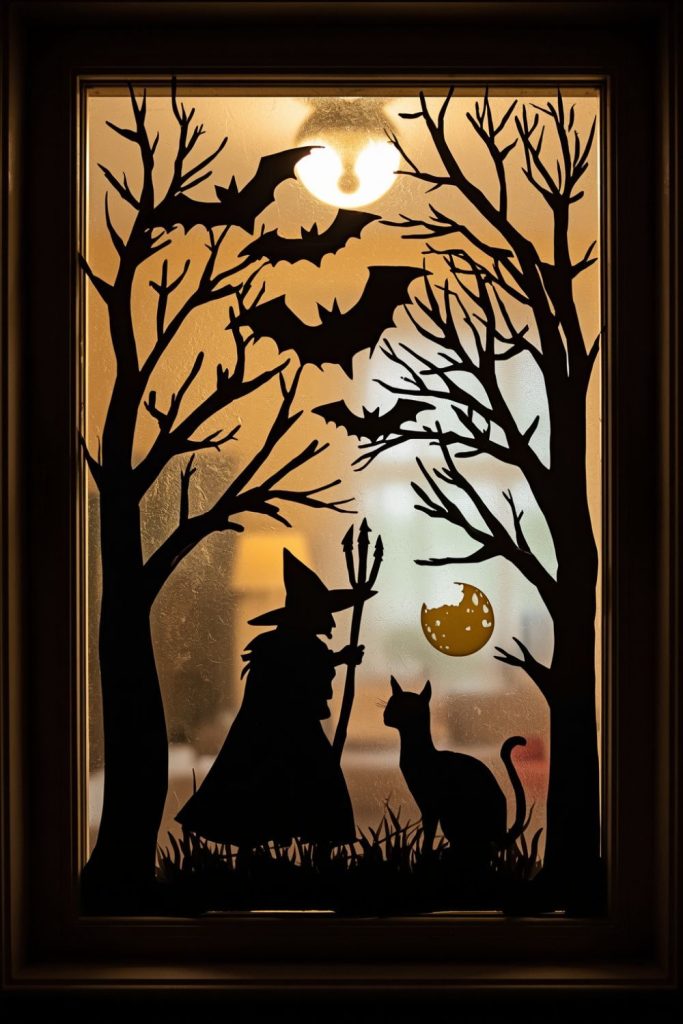
Materials: Black construction paper or cardboard, scissors, white paper, tape, pencil.
Step by step:
- Measure the inside of the window.
- Sketch simple Halloween shapes such as bats, cats, witches, and crooked trees.
- Cut the shapes from black paper or thin cardboard.
- Make a large moon from white or yellow paper.
- Arrange the shapes on the window.
- Tape them securely to the glass from the inside.
- Leave some open space between the figures.
- Turn on the room lights at night so the silhouettes can be seen outside.
- Add several small bats around the main scene.
4. Spooky Staircase

Materials: Fake spiderweb material or cotton, black paper, plastic spiders, tape, orange ribbon.
Step by step:
- Stretch the spiderweb material along the staircase railing.
- Pull parts of the web outward so it looks loose and uneven.
- Place plastic spiders across the web.
- Cut small bats from black paper.
- Attach the bats to the wall beside the staircase.
- Tie orange ribbon around a few sections of the railing.
- Add small paper ghosts between the spiders.
- Keep the steps and handrail clear.
- Check the display before children use the stairs.
5. Witch Legs Under the Door

Materials: Cardboard, striped paper or old striped socks, black shoes, scissors, tape.
Step by step:
- Draw two long leg shapes on cardboard.
- Cut them out carefully.
- Cover the legs with black and white striped paper.
- Attach an old black shoe to the bottom of each cardboard leg.
- Position the legs so they appear to come from underneath the door.
- Tape the upper part securely to the lower door area.
- Angle the legs slightly apart for a funny effect.
- Make sure the decoration does not block the doorway.
- Add a small witch hat beside the door for extra detail.
- Related post 25 Stunning Halloween Crafts for Adults to Transform Your Home Into a Spooky-Chic Haven
6. Monster Front Door
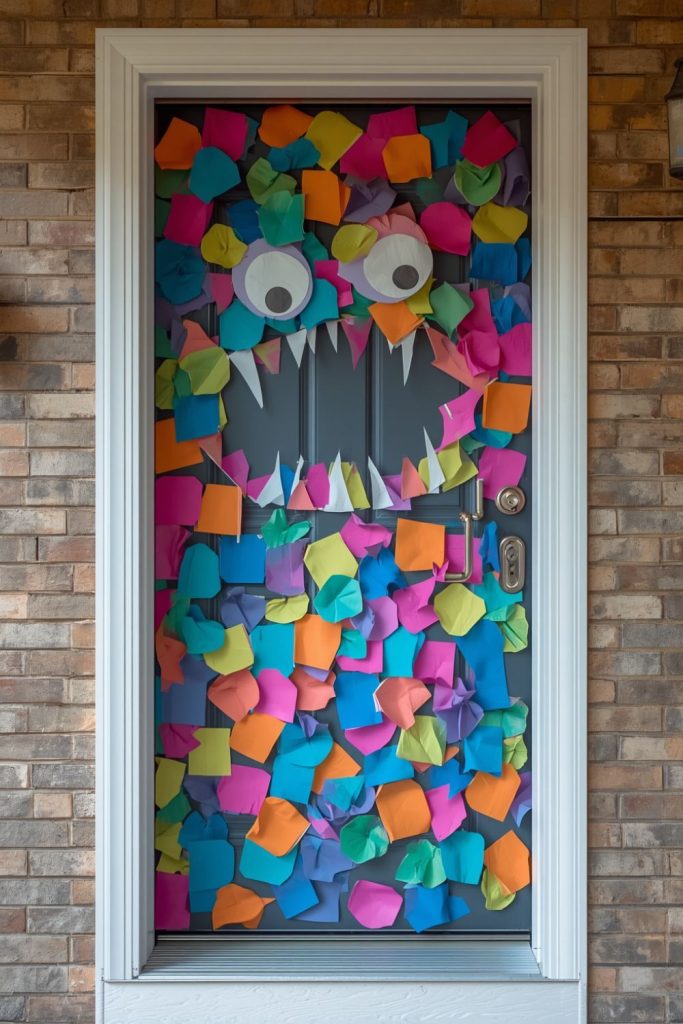
Materials: Colored construction paper, cardboard, scissors, removable tape, black marker.
Step by step:
- Choose a monster color such as green, purple, or orange.
- Cover the main door area with large sheets of colored paper.
- Cut two or three oversized eyes.
- Add black pupils in different directions.
- Cut a large mouth from black paper.
- Create white cardboard teeth in different sizes.
- Attach the teeth around the mouth.
- Add paper eyebrows above the eyes.
- Keep the door handle uncovered.
- Check that the paper can be removed without damaging the door.
7. Ghost Lined Walkway

Materials: White cardboard, wooden garden sticks, black marker, tape, scissors.
Step by step:
- Draw simple ghost shapes on white cardboard.
- Cut out each ghost.
- Draw different faces on the ghosts.
- Attach each ghost to a wooden stick.
- Place the ghosts along both sides of the walkway.
- Vary their heights and facial expressions.
- Leave enough space for people to walk safely.
- Add orange paper leaves or pumpkins between some ghosts.
- Check that each ghost is firmly positioned before Halloween night.
8. Flying Bat Ceiling

Materials: Black construction paper, scissors, pencil, tape or removable adhesive.
Step by step:
- Draw a bat shape on a piece of cardboard.
- Cut it out to use as a template.
- Trace the template onto black paper several times.
- Cut out the bats.
- Fold each bat slightly along the body so the wings point outward.
- Attach the bats to the ceiling using removable adhesive.
- Arrange them in a curved flying pattern.
- Make smaller bats appear farther away.
- Leave lights, fans, and walkways clear.
9. Creepy Fireplace Mantel

Materials: Black fabric, paper bats, small pumpkins, fake spiderwebs, paper ghosts, battery candles.
Step by step:
- Cover the mantel with black fabric.
- Stretch fake spiderwebs across the front edge.
- Arrange pumpkins in different sizes.
- Add paper bats along the wall above the mantel.
- Place small ghosts between the pumpkins.
- Add battery operated candles for a soft glow.
- Put a Halloween sign in the center.
- Keep all decorations away from real flames.
- Check that nothing can easily fall from the mantel.
10. Haunted House Wall Scene

Materials: Black, gray, yellow, and white paper, cardboard, scissors, tape.
Step by step:
- Choose a large empty wall.
- Cut a crooked haunted house from black cardboard.
- Add yellow windows to the house.
- Cut a large moon from yellow paper.
- Add black trees on both sides.
- Place flying bats around the moon.
- Add small clouds using gray paper.
- Arrange the pieces on the wall before attaching them.
- Secure each piece with removable tape.
- Add a small fence along the bottom of the scene.
11. Spooky Halloween Table

Materials: Black tablecloth, orange paper, small pumpkins, paper ghosts, battery candles, plastic spiders.
Step by step:
- Cover the table with a black tablecloth.
- Place a row of small pumpkins across the center.
- Add battery candles between the pumpkins.
- Cut small ghost shapes from white paper.
- Place the ghosts around the centerpiece.
- Add a few plastic spiders near the edges.
- Create orange paper napkin rings.
- Keep the center decoration low enough for people to see across the table.
- Keep candles and decorations away from food.
12. Halloween Fence Display

Materials: Black cardboard, white fabric, fake spiderwebs, plastic spiders, orange paper, tape.
Step by step:
- Stretch fake spiderwebs across selected sections of the fence.
- Add plastic spiders throughout the web.
- Cut large bats from black cardboard.
- Attach the bats to the fence.
- Hang small white ghosts between the fence posts.
- Make simple Halloween warning signs from cardboard.
- Use orange paper around selected fence sections.
- Keep the entrance and gate easy to open.
- Secure lightweight decorations so they do not fall in the wind.
13. Pumpkin Lined Front Steps

Materials: Real or artificial pumpkins, paint, black marker, paper leaves, battery lights.
Step by step:
- Clean the steps before decorating.
- Choose pumpkins in several sizes.
- Paint a few pumpkins orange, white, or black.
- Draw simple Halloween faces on selected pumpkins.
- Arrange larger pumpkins near the bottom.
- Place smaller pumpkins closer to the door.
- Add paper leaves between the pumpkins.
- Place battery lights around the display.
- Keep a clear walking path on the steps.
14. Creepy Closet Door

Materials: Black paper, white paper, cardboard, scissors, removable tape, black marker.
Step by step:
- Cut two large monster eyes from white paper.
- Add large black pupils.
- Place the eyes near the upper part of the closet door.
- Cut several cardboard claw marks.
- Color the claw marks black or dark red.
- Attach them around the door.
- Add a small paper sign saying “Monster Inside.”
- Keep the door handle uncovered.
- Remove the display carefully after Halloween.
15. Giant Spiderweb Corner

Materials: White yarn or cotton, black cardboard, scissors, tape.
Step by step:
- Choose an empty corner of a room, porch, or patio.
- Tie white yarn between two or three fixed points.
- Add more pieces across the first lines to form a web.
- Keep the lines uneven for a natural spiderweb look.
- Cut a large spider from black cardboard.
- Add eight long legs.
- Hang the spider in the center of the web.
- Add two or three smaller spiders around it.
- Keep the web away from children’s faces and walking areas.
16. Ghost Curtain Doorway
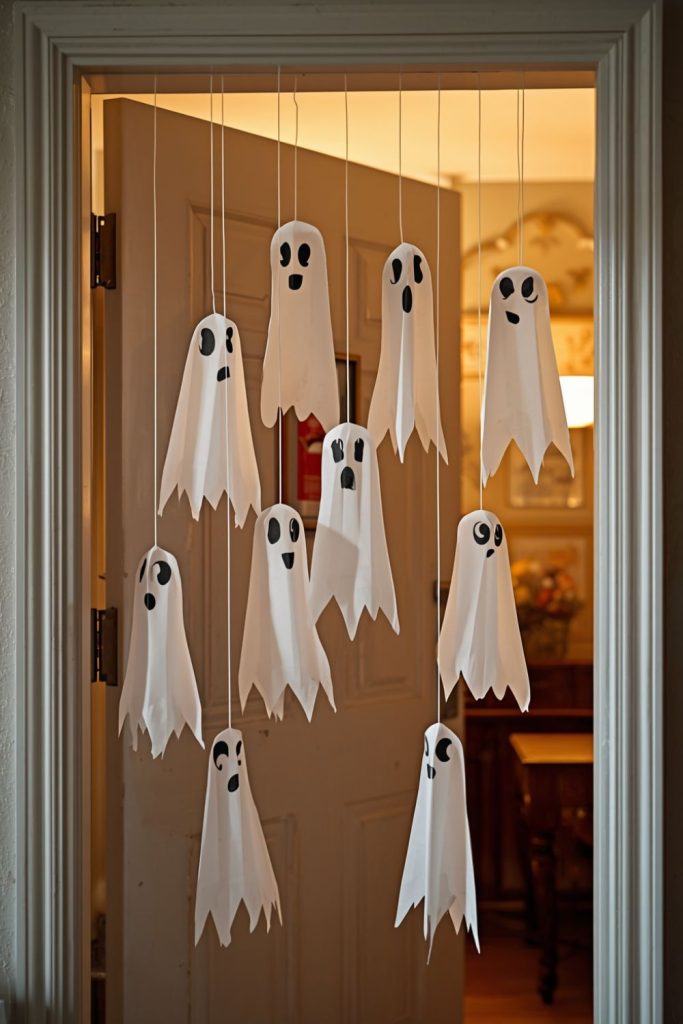
Materials: White paper, string, scissors, black marker, tape.
Step by step:
- Cut several ghost shapes from white paper.
- Give each ghost a different face.
- Make small holes near the top of each ghost.
- Thread string through the holes.
- Tie the ghosts at different heights.
- Attach the strings across the top of the doorway.
- Space the ghosts so people can walk through easily.
- Add small black bats between some ghosts.
- Make sure the hanging pieces do not cover people’s faces.
17. Black Cat Window Scene
Materials: Black cardboard, yellow paper, white paper, scissors, tape.
Step by step:
- Draw a large sitting cat silhouette on black cardboard.
- Cut out the cat.
- Cut two large yellow eyes.
- Attach the eyes to the cat.
- Cut a large moon from yellow or white paper.
- Place the moon behind the cat.
- Add small black bats around the moon.
- Attach the display to the inside of the window.
- Turn on a nearby indoor light after dark to make the silhouette visible.
18. Kid Friendly Haunted Yard

Materials: Cardboard, gray paint, black marker, white fabric, wooden sticks, battery lights.
Step by step:
- Cut tombstone shapes from cardboard.
- Paint the cardboard gray.
- Write funny names or Halloween messages on each tombstone.
- Attach the tombstones to wooden sticks.
- Place them around the front yard.
- Add small white ghosts between the tombstones.
- Stretch small sections of fake spiderweb around the display.
- Add battery lights near the tombstones.
- Keep the yard entrance and walking paths clear.
19. Witch’s Porch Display

Materials: Old broom, black fabric, witch hat, cardboard cauldron, empty bottles, purple and orange paper.
Step by step:
- Place a black fabric cloth in one corner of the porch.
- Lean an old broom against the wall.
- Hang a witch hat above the display.
- Make a cauldron shape from cardboard.
- Cover empty bottles with dark paper.
- Add labels such as “Witch’s Potion.”
- Place the bottles inside and around the cauldron.
- Add orange and purple paper around the display.
- Keep the walkway and front door clear.
20. Halloween Balloon Arch
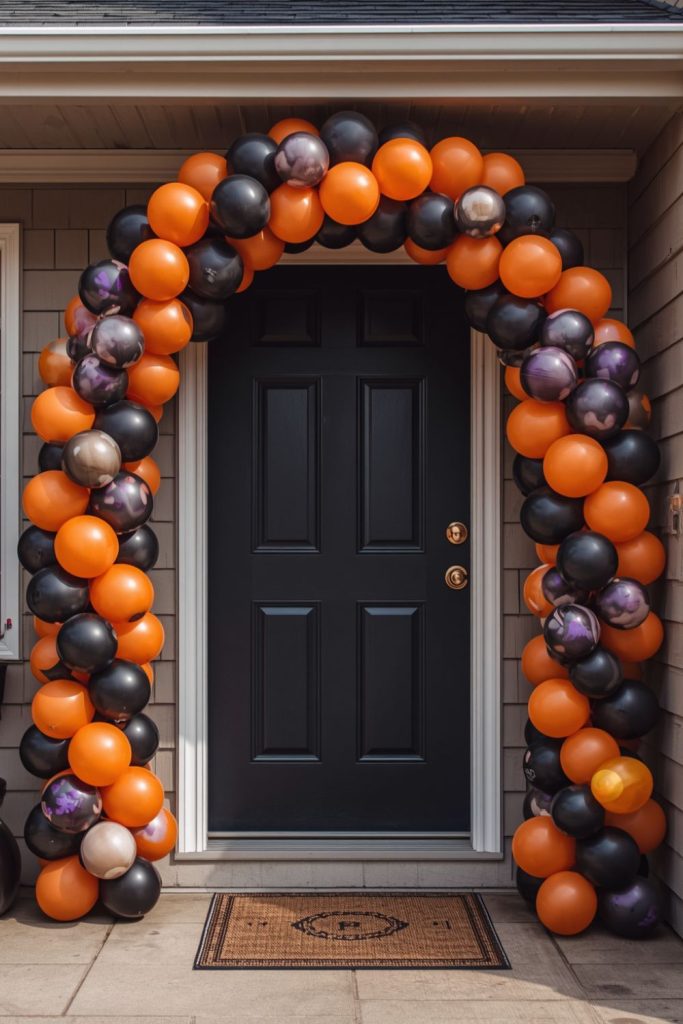
Materials: Orange, black, purple, and white balloons, balloon strip, string, tape.
Step by step:
- Inflate balloons in several Halloween colors.
- Tie each balloon securely.
- Attach the balloons to a balloon strip.
- Alternate colors as you build the arch.
- Bend the strip into an arch shape.
- Secure both ends near the doorway.
- Add smaller balloons to fill visible gaps.
- Place a few paper bats around the arch.
- Keep the balloons away from hot lights and sharp surfaces.
21. Spooky Night Sky Wall
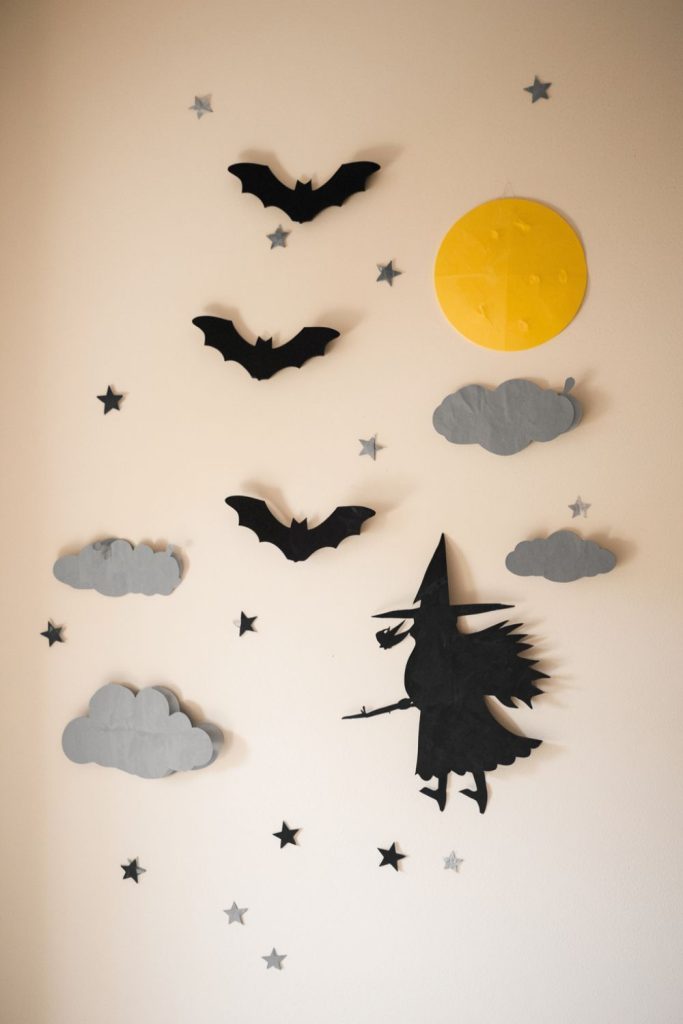
Materials: Black paper, yellow paper, white paper, scissors, tape, cardboard.
Step by step:
- Cover part of an empty wall with black paper.
- Cut a large round moon from yellow paper.
- Attach the moon near the upper part of the display.
- Cut black bat silhouettes in different sizes.
- Arrange the bats across the moon and surrounding area.
- Cut a witch silhouette from black cardboard.
- Place the witch near the moon.
- Add small white stars around the sky.
- Cut cloud shapes from gray paper and place them near the edges.
- Add a black paper tree along the bottom to complete the night scene.