Keeping a clean kitchen is essential, and knowing how to clean microwave efficiently can save you time and hassle. As someone who loves cooking but dreads the aftermath, I’ve learned a few tricks that make this task a breeze. A dirty microwave not only looks unappealing but can also harbor germs and odors that affect the food you cook. In this guide, I’ll share my go-to hacks for ensuring your microwave stays spotless, fresh, and ready for your next culinary adventure.
Why a Clean Microwave is Important?
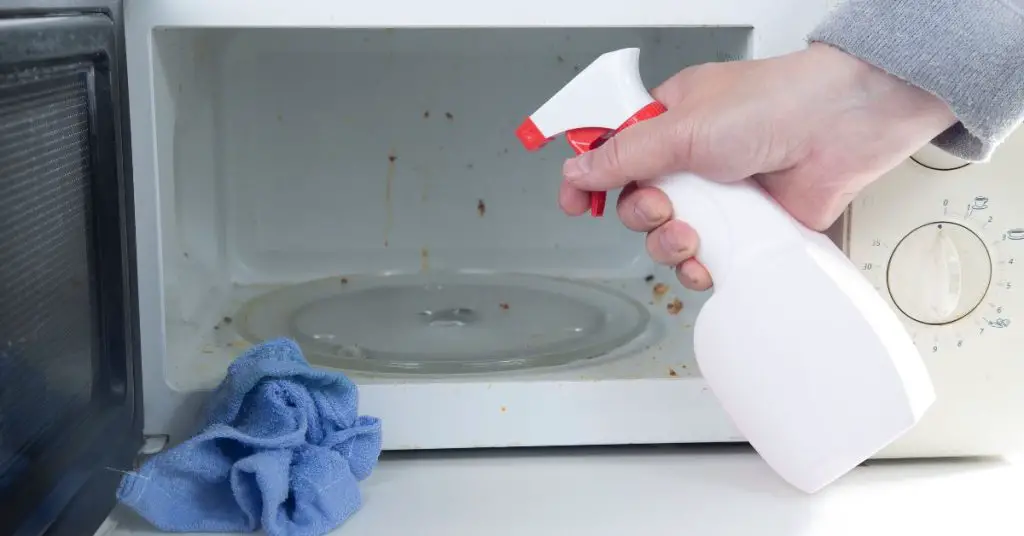
First and foremost, it promotes a healthier cooking environment. When you microwave food, tiny food particles can become airborne, landing on other surfaces or even in your next meal. By keeping the microwave clean, you minimize the risk of contamination.
Moreover, a clean microwave operates more efficiently. When I first started cooking, I didn’t realize that built-up grime could affect performance. Over time, I noticed that my microwave wasn’t heating evenly, which led to some very unevenly cooked meals. A regular cleaning routine not only enhances the appliance’s performance but also extends its lifespan.
Not to mention, a clean microwave eliminates unpleasant odors. I can’t count how many times I’ve opened my microwave only to be greeted by the smell of last week’s leftover fish. By maintaining cleanliness, you prevent lingering odors from affecting your cooking.
Benefits of Regular Cleaning
- Healthier Meals: Reduces the risk of bacteria and contamination.
- Better Performance: Ensures even heating and prolongs appliance life.
- Pleasant Cooking Environment: Keeps odors at bay and your kitchen fresh.
- Visual Appeal: A clean microwave enhances the overall look of your kitchen.
Through my experience, I’ve found that regular cleaning can turn a chore into a quick routine, ensuring I never have to deal with an overwhelming mess.
Supplies You’ll Need
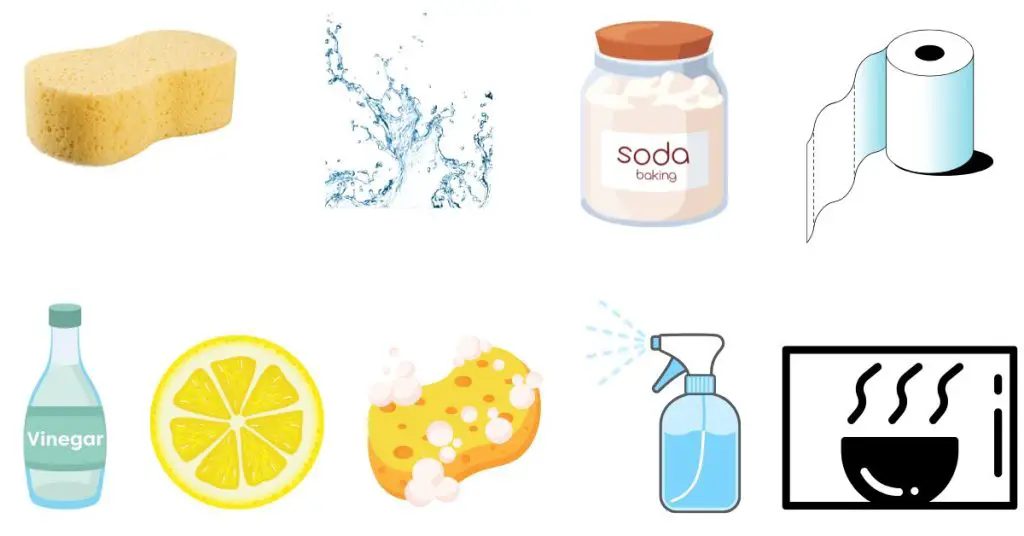
Before diving into the cleaning process, it’s essential to gather all the necessary supplies. Here’s what you’ll need, based on what I’ve found most effective:
- Dish Soap: A gentle dish soap works wonders to cut through grease.
- Water: Needed for steam cleaning and diluting cleaning agents.
- Vinegar: A natural deodorizer and cleaner that tackles stains.
- Lemon: Adds a fresh scent and combats odors effectively.
- Baking Soda: Ideal for removing tough stains and absorbing smells.
- Soft Cloth or Sponge: Prevents scratches on surfaces.
- Paper Towels: Great for quick clean-ups and drying.
- Microwave-Safe Bowl: For steam cleaning solutions.
- Spray Bottle: For easy application of your DIY cleaners.
Having everything on hand makes the cleaning process smoother. When I first started cleaning my microwave, I’d often forget a crucial item, which made the task feel more cumbersome. With the right supplies ready to go, you can tackle the mess quickly and efficiently.
Prep Work: Clear Out the Debris
Now that you have your supplies, it’s time to prep the microwave. I always start by removing any items from inside, including the turntable and any accessories. This step is crucial because it gives you access to all surfaces and prevents any debris from mixing with your cleaning solution.
Next, check for any loose food particles or spills. I often find that crumbs and splatters accumulate at the corners. Use a damp cloth or paper towel to wipe away larger chunks of debris. This initial clearing makes subsequent cleaning steps much easier and more effective.
Getting rid of the debris not only helps you focus on stubborn stains but also ensures that your cleaning products work their magic without any distractions.
Steam Cleaning with Water
One of the easiest and most effective methods I’ve found for cleaning my microwave is steam cleaning. This technique utilizes the power of steam to loosen stubborn stains and grease.
To steam clean your microwave, follow these simple steps:
- Fill a microwave-safe bowl with water.
- For an extra boost, add slices of lemon or a splash of vinegar.
- Place the bowl in the microwave and heat on high for about 5 minutes.
- Allow the bowl to sit inside for a few more minutes to let the steam work its magic.
- Carefully remove the bowl (it will be hot!) and wipe down the interior surfaces with a soft cloth or sponge.
The steam will loosen grime, making it easy to wipe away. This method not only cleans but also freshens your microwave with a pleasant scent, especially if you used lemon or vinegar.
I can attest that this steam cleaning hack has saved me countless hours of scrubbing. It’s a simple and efficient way to keep your microwave looking like new.
DIY Vinegar and Lemon Cleaner
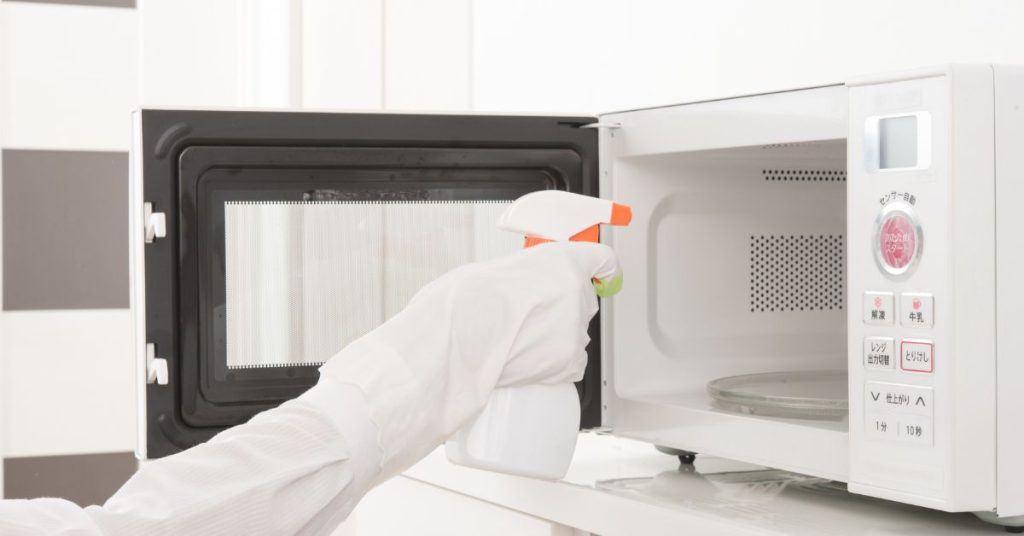
When it comes to natural cleaning solutions, vinegar and lemon are two of my favorite ingredients. Both have antibacterial properties and can tackle tough stains with ease.
To create a DIY cleaner, I mix equal parts of water and vinegar in a spray bottle and add juice from half a lemon for added freshness. Here’s how to use this cleaner effectively:
- Spray the solution generously on the interior surfaces of the microwave.
- Let it sit for a few minutes to penetrate stubborn stains.
- Wipe clean with a soft cloth or sponge.
For particularly tough spots, I sometimes sprinkle a bit of baking soda on the stain before wiping. The combination of vinegar, lemon, and baking soda works wonders for breaking down even the toughest messes.
This method is not only effective but also safe for families, as it avoids harsh chemicals. I love how easy it is to whip up a batch of this cleaner whenever my microwave needs a little TLC.
Using Baking Soda for Tough Stains
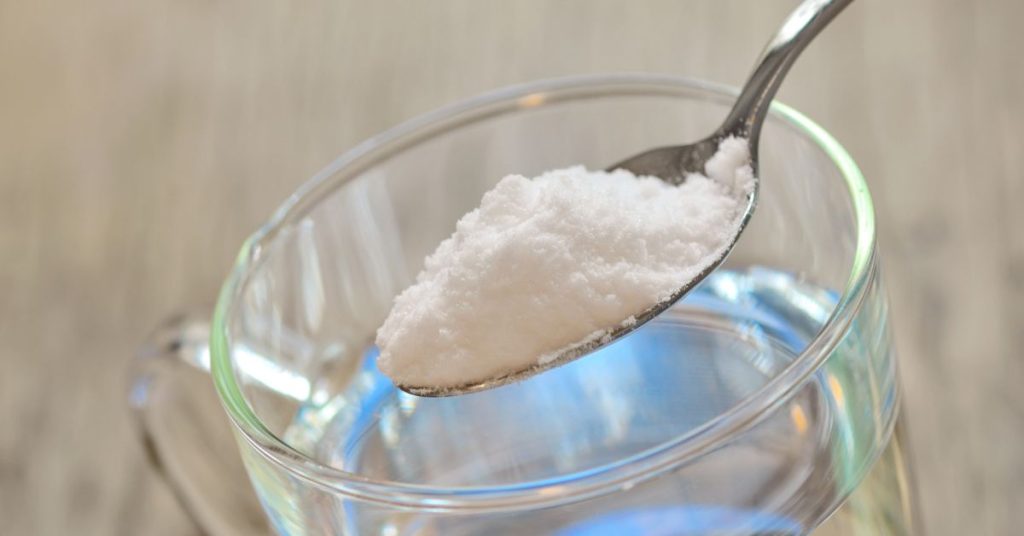
When it comes to stubborn stains and lingering odors, baking soda is your best friend. Its mild abrasiveness helps to scrub away tough grime without scratching the surface of your microwave.
To use baking soda effectively, I create a paste by mixing baking soda with a small amount of water. Here’s the process I follow:
- Apply the paste directly to any tough stains or greasy spots.
- Let it sit for about 10-15 minutes to allow it to penetrate the stains.
- Wipe away the paste with a damp cloth, rinsing as needed.
Baking soda not only helps remove stains but also neutralizes odors, making it perfect for keeping your microwave smelling fresh. I often use this method after I’ve heated up something particularly pungent, like fish or leftover curry.
Cleaning the Turntable and Accessories
While the interior of the microwave gets most of the attention, don’t forget about the turntable and other accessories! These parts can collect grime and food particles too.
To clean the turntable, simply remove it from the microwave and wash it in warm, soapy water. I like to use a soft sponge to avoid scratches. If there are any stubborn stains, I apply a bit of baking soda paste and let it sit for a few minutes before rinsing.
Once clean, dry the turntable thoroughly before placing it back in the microwave. This not only ensures that it operates correctly but also prevents any moisture from affecting the appliance.
Wiping Down the Interior
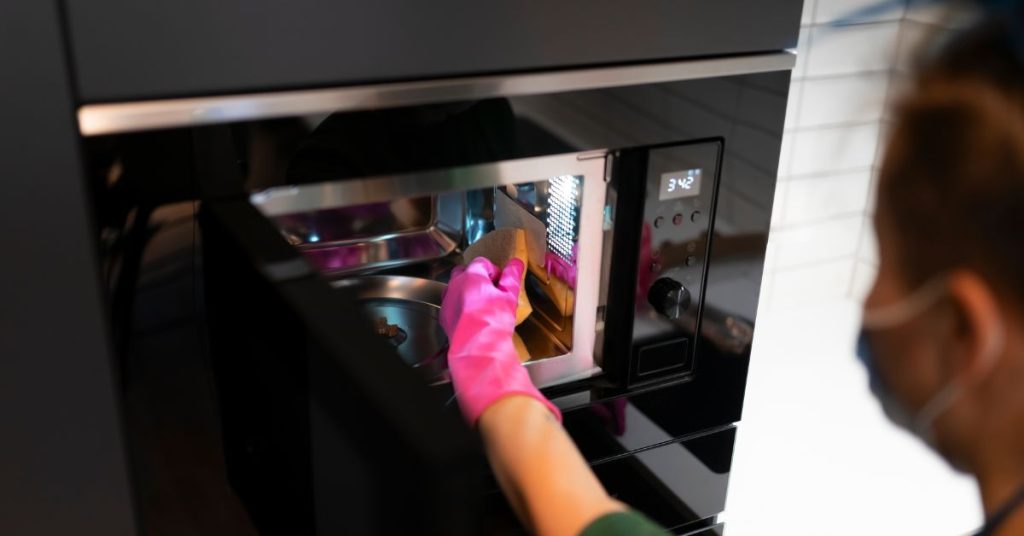
Once you’ve tackled the tough stains and odors, it’s time to give the interior a final wipe-down. I usually start at the top and work my way down, using a damp cloth or sponge to capture any remaining residue.
For any spots that still seem stubborn, I often revisit my vinegar and lemon cleaner or a bit of baking soda paste to ensure a spotless finish. Remember to clean the ceiling, walls, and corners of the microwave, as these areas often get overlooked.
This step is essential for ensuring that your microwave is not just clean but also hygienic. I find that taking the extra time to wipe down every surface pays off in the long run.
Freshening Up Odors
Even after cleaning, you may still encounter stubborn odors in your microwave. If that’s the case, I have a few tricks up my sleeve.
One effective method is to place a bowl of water mixed with lemon juice in the microwave and heat it for a few minutes. The steam will help neutralize odors, leaving your microwave smelling fresh.
You can also leave an open box of baking soda inside the microwave when it’s not in use. Baking soda naturally absorbs odors and can help keep your microwave smelling clean. I usually replace the box every few months for the best results.
Don’t Forget the Exterior
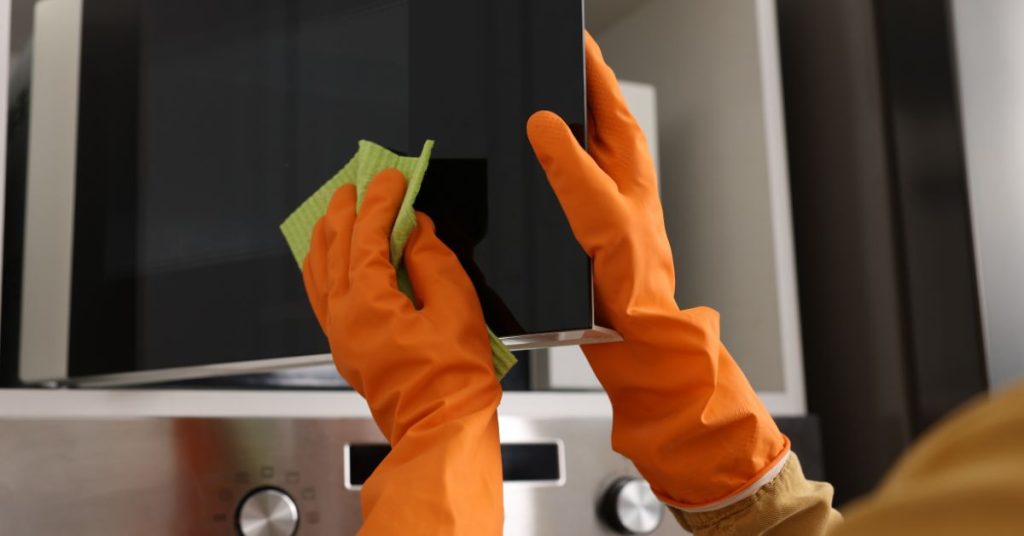
While the interior of the microwave is important, the exterior shouldn’t be neglected. I always give the outside a quick wipe-down, especially around the buttons and handle where grime can build up.
For the exterior, I use a mixture of warm water and dish soap. A soft cloth or sponge works well for this task. Be careful not to let any cleaning solution seep into the control panel, as this can cause damage.
A clean exterior not only looks great but also helps maintain the overall cleanliness of your kitchen. It’s a simple step that can make a big difference.
Quick Tips for Grease Stains
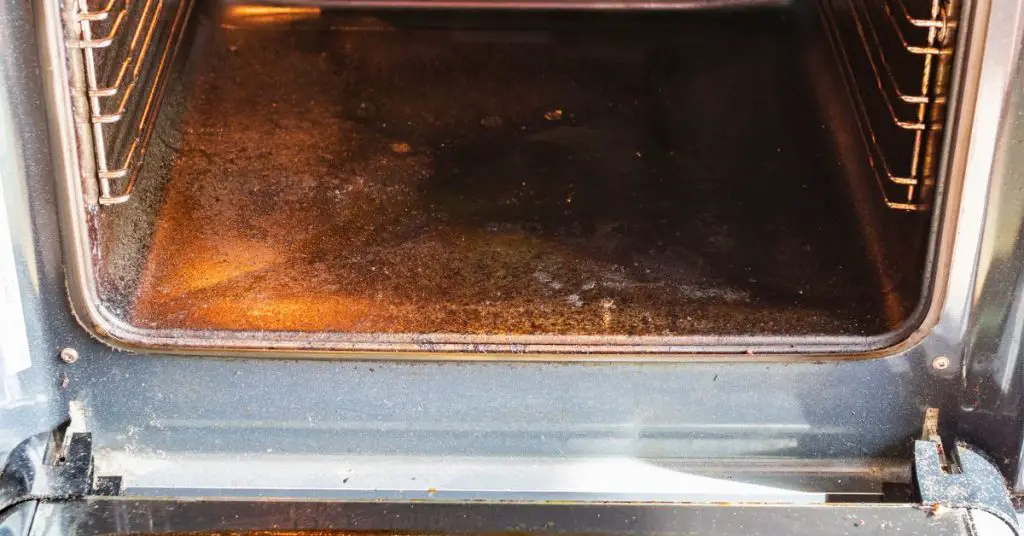
If you notice grease splatters after cooking, I recommend addressing them as soon as possible. The longer they sit, the harder they are to remove. A mixture of baking soda and water applied directly to the stain can work wonders.
Another option is to use a bit of dish soap mixed with warm water. Apply the solution with a sponge, and then rinse with a damp cloth.
For persistent grease, I sometimes resort to a commercial degreaser, but I always check the label to ensure it’s safe for use on microwaves.
What Not to Clean a Microwave With?
While there are many effective cleaning solutions, there are also several products you should avoid. For instance, never use harsh chemicals like bleach or ammonia, as these can damage the interior surfaces and create harmful fumes.
Additionally, avoid abrasive cleaners or scouring pads, as they can scratch the microwave’s surfaces. It’s best to stick with gentle, natural solutions whenever possible.
In my experience, the simpler, the better! Sticking to natural ingredients ensures that I’m not introducing harmful substances into my kitchen.
What Are the Mistakes for Cleaning a Microwave?
- Not Acting Quickly: Allowing spills to sit can make them harder to clean.
- Using Harsh Chemicals: Avoid damaging the appliance with strong cleaners.
- Neglecting the Turntable: The turntable often gets overlooked but needs cleaning too.
- Skipping the Exterior: A clean interior means little if the outside is grimy.
By being mindful of these pitfalls, you can ensure that your cleaning process is effective and efficient.
How Often Should I Clean My Microwave?
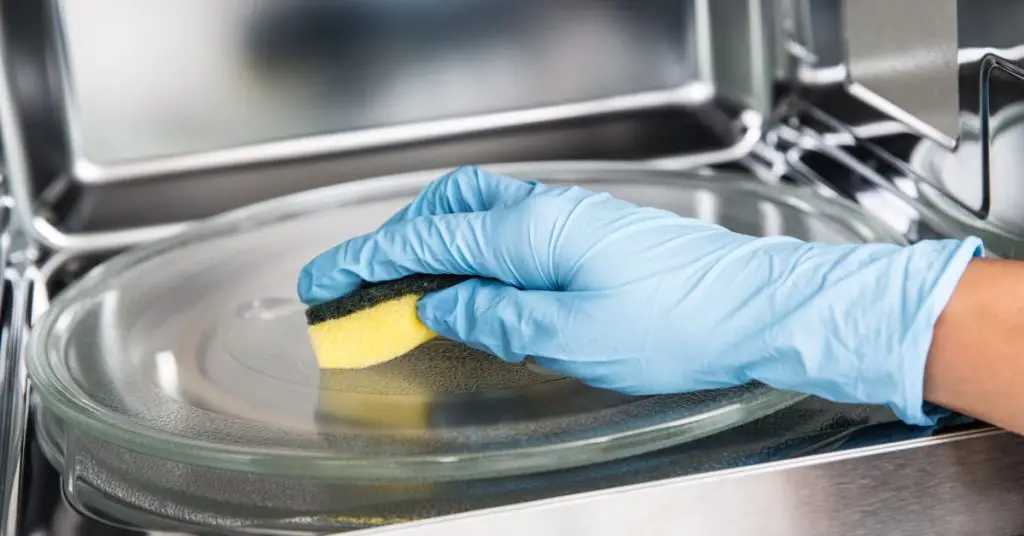
I recommend cleaning your microwave at least once a week if you use it frequently. If you often cook messy or aromatic foods, a quick wipe-down after each use can prevent buildup and odors.
For me, setting a reminder to clean my microwave every week has made it easy to stay on top of this task. It’s a small commitment that yields big results, keeping my microwave fresh and ready for action.
Conclusion
Keeping your microwave clean doesn’t have to be a chore. With these quick and easy hacks, you can ensure that your appliance remains spotless and odor-free. Regular cleaning not only promotes a healthier cooking environment but also enhances the performance and longevity of your microwave. By incorporating these tips into your routine, you’ll be well on your way to mastering how to clean microwave effectively. Happy cleaning!
