Every coffee lover knows the feeling: you brew your first cup in the morning, and instead of that delightful aroma, you catch a whiff of something off. You might wonder, “Why is my Keurig so dirty?” It’s a question I’ve asked myself many times!
Keurigs are convenient and quick, making them a staple in many households. However, they can accumulate grime from coffee grounds, mineral deposits from water, and residue from old brews. This buildup can lead to several issues, including blocked pathways and inconsistent brew quality.
My Experience: I remember the first time I noticed a strange taste in my coffee. I thought it was just the beans I was using. After switching brands and still experiencing the same issue, I realized it was time for a thorough clean. Opening up my machine, I was shocked at how dirty it had gotten!
Supplies You Need to Know for How to Clean a Keurig Coffee Maker

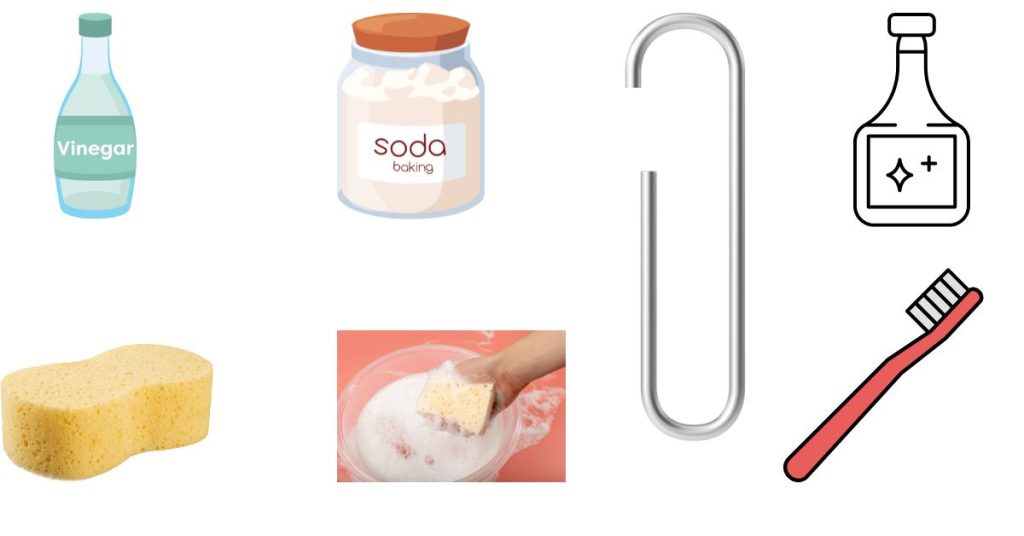
Before jumping into the cleaning process, it’s essential to gather your supplies. Here’s a list of items you’ll need:
- White Vinegar: A natural cleaner that’s great for descaling and deodorizing.
- Baking Soda: Perfect for scrubbing away stubborn stains and odors.
- Descaling Solution: If you prefer a commercial product, these are specifically designed for coffee makers.
- Soft Cloth or Sponge: For wiping down surfaces without scratching.
- Warm Soapy Water: Always handy for general cleaning tasks.
- Paper Clip: To clear any debris from the needle.
- Brush or Toothbrush: For scrubbing hard-to-reach areas.
My Go-To: I always keep these supplies handy in my kitchen. It makes the process much easier when I decide it’s time for a clean!
How to Clean a Keurig Coffee Maker with Vinegar?
One of the simplest and most effective ways to clean a Keurig coffee maker is by using white vinegar. Here’s how I do it:
- Empty the Water Reservoir: Start by removing any water left in the reservoir. This step is crucial for the cleaning process.
- Mix Vinegar and Water: Combine equal parts of white vinegar and water. For my 12-cup Keurig, I usually use about 12 ounces of each.
- Run the Brew Cycle: Pour the vinegar solution into the water reservoir and start a brew cycle without a K-Cup. I run this cycle until the reservoir is empty.
- Let It Sit: After the cycle, let the machine sit for about 30 minutes. This allows the vinegar to work on any buildup.
- Rinse: Fill the reservoir with clean water and run several brew cycles to flush out the vinegar. I typically do this at least three times to ensure all the vinegar is gone.
This method is effective in breaking down mineral deposits and keeping your Keurig running smoothly.
Baking Soda Scrub
Baking soda is another fantastic cleaning agent that can help keep your Keurig looking fresh. Here’s how I incorporate it into my cleaning routine:
- Create a Paste: Mix baking soda with a small amount of water to create a paste. It should be thick enough to stick to surfaces.
- Scrub the Exterior: Use a soft cloth or sponge to apply the baking soda paste to the exterior of your Keurig. Gently scrub to remove any stains or fingerprints. I love how shiny it makes my coffee maker!
- Clean the Inside: If there are any tough stains inside the drip tray or water reservoir, apply some baking soda paste and let it sit for a few minutes before scrubbing.
- Rinse Thoroughly: After cleaning, rinse the areas you scrubbed with warm water to remove any residue.
In my experience, baking soda not only cleans but also neutralizes any odors, leaving your Keurig smelling fresh.
Descaling Solution
For those looking for a straightforward solution, a commercial descaling solution is a great option. Here’s how to use it:
- Choose a Quality Product: Pick a descaling solution that’s specifically designed for coffee makers. I usually opt for one that’s highly rated and well-reviewed.
- Follow the Instructions: Each product may have slightly different instructions, so it’s essential to read the label carefully. Most involve mixing the solution with water.
- Run the Brew Cycle: Just like with vinegar, pour the solution into the water reservoir and run a brew cycle without a K-Cup.
- Let It Sit: After the cycle, allow the solution to sit in the machine for the recommended time. This step ensures thorough cleaning.
- Rinse: Finally, run several cycles with fresh water to remove any remaining solution.
Using a descaling solution has saved me time and effort, especially when I notice my Keurig isn’t brewing as efficiently.
Water Reservoir Cleaning
The water reservoir is often overlooked, but it’s essential to clean it regularly. Here’s how I do it:
- Remove the Reservoir: Start by detaching the water reservoir from your Keurig.
- Wash with Soap and Water: Use warm soapy water to wash the reservoir thoroughly. I usually use a soft sponge to avoid scratching it.
- Rinse and Dry: Make sure to rinse it thoroughly to remove any soap residue and then let it air dry before reattaching.
Cleaning the reservoir not only keeps your coffee tasting fresh but also prevents any buildup of bacteria or mold.
K-Cup Holder Clean
Cleaning the K-Cup holder is crucial to maintaining your Keurig’s performance. Here’s how I tackle it:
- Remove the K-Cup Holder: Most Keurig models allow you to easily detach the K-Cup holder.
- Rinse Under Water: Rinse it under warm water to remove any coffee grounds and residue. I always check for clogs in the holes.
- Scrub with a Brush: For stubborn bits, use a soft brush or toothbrush to scrub it gently. This step ensures that all coffee oils are removed.
- Let It Dry: Allow the K-Cup holder to dry completely before reattaching it to the machine.
Keeping the K-Cup holder clean is essential for a seamless brewing experience.
Needle Cleaning
The needle that punctures the K-Cup can easily become clogged, affecting your brew. Here’s my method for cleaning it:
- Unplug Your Keurig: Safety first! Always unplug the machine before cleaning.
- Locate the Needle: The needle is usually located in the K-Cup holder. I use a flashlight for better visibility.
- Clear Debris with a Paper Clip: Straighten a paper clip and gently poke it into the needle to dislodge any coffee grounds or debris.
- Run a Brew Cycle: After cleaning, run a cycle with water to ensure everything is functioning correctly.
Cleaning the needle is a simple yet effective way to keep your Keurig brewing flawlessly.
What Happens If You Don’t Clean Your Keurig?
Neglecting to clean your Keurig coffee maker can lead to several unpleasant consequences. First and foremost, you’ll notice a decline in the quality of your coffee. Old coffee oils and mineral deposits can alter the flavor, leaving you with a less-than-satisfying brew.
Health Concerns: Beyond taste, a dirty coffee maker can harbor bacteria and mold, which can lead to health issues. It’s a scary thought, especially when all we want is a comforting cup of joe.
Moreover, if you don’t clean your Keurig regularly, you risk damaging the machine itself. Clogs can develop in the water line or the brewing chamber, leading to costly repairs or the need for a replacement.
My Lesson: After experiencing a few weeks of subpar coffee, I finally decided to dedicate a Saturday morning to cleaning my Keurig. Trust me, it’s a small investment of time for the benefits you gain!
Conclusion
Learning how to clean a Keurig coffee maker has transformed my coffee experience. By incorporating regular cleaning routines—using vinegar, baking soda, descaling solutions, and keeping the K-Cup holder and needle clean—I’ve ensured that my coffee tastes fresh and delicious every time. Plus, I no longer worry about mold or bacteria lurking in my machine!
Take the time to implement these cleaning methods, and your Keurig will reward you with amazing coffee for years to come. Happy brewing!
