Mothers day crafts for toddlers are all about capturing tiny hands, giggles, and joyful messes. These simple creations become treasured keepsakes, holding memories that last for years.
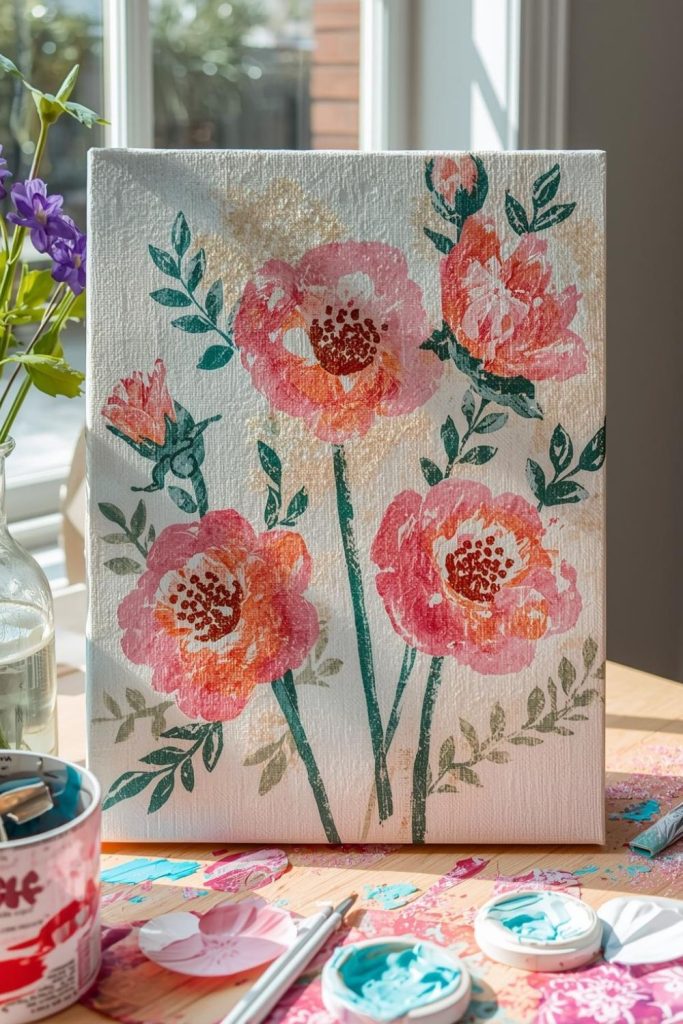
Balloon Stamped Hydrangea Canvas in Soft Spring Colors
This colorful canvas turns simple balloon stamps into beautiful hydrangea clusters. Toddlers enjoy stamping and seeing paint magically appear on the canvas.
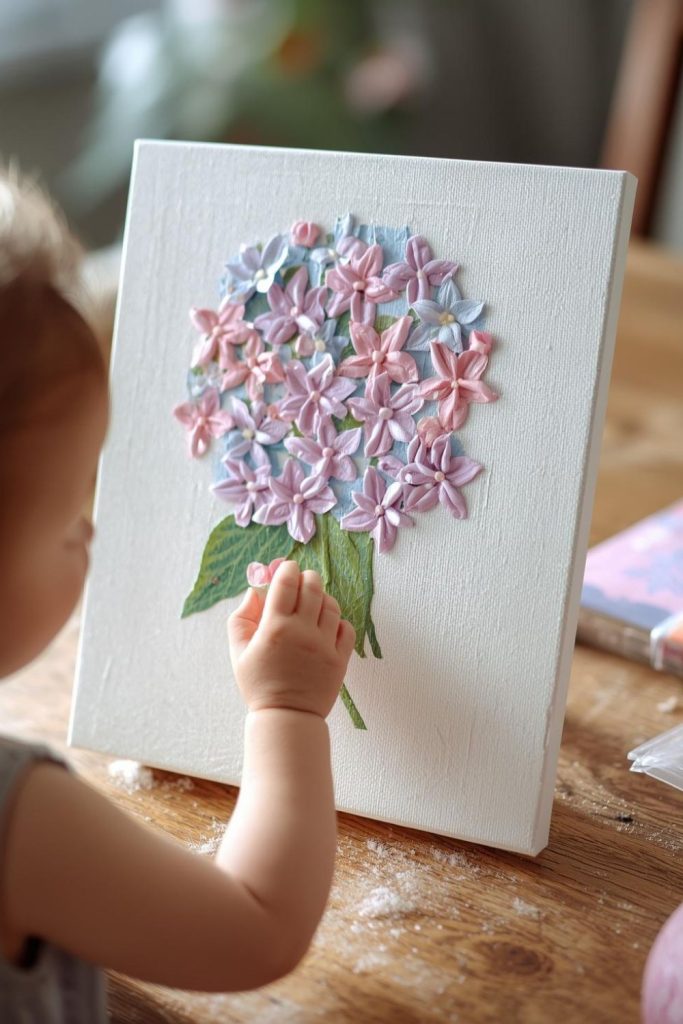
Step by Step Method:
- Pour pastel acrylic paints (pink, lavender, blue) onto paper plates.
- Slightly inflate a small balloon and tie it.
- Dip the balloon lightly into paint.
- Press the balloon onto a canvas to create flower clusters.
- Repeat stamping until the canvas is filled.
- Add green stems and leaves with a brush or sponge.
- Let the canvas dry completely.
- Optionally, write “Happy Mother’s Day” at the top.
- Related post DIY Mother’s Day Table Decorations That Are Easier Than They Look (But Totally Pinterest-Worthy)
Heart Shaped Thumbprint Flower Garden Card
Tiny thumbprints transform a simple card into a garden full of flowers. This craft is perfect for toddlers who enjoy dipping fingers in paint.
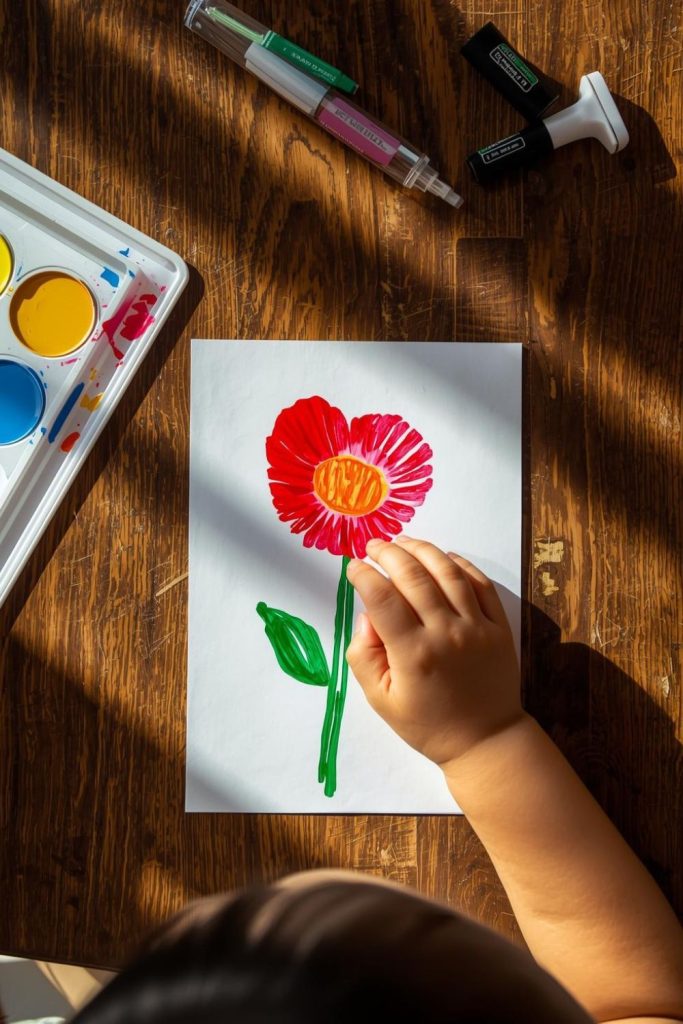
Step by Step Method:
- Fold thick cardstock in half to create a card.
- Sketch a heart shape lightly on the front.
- Pour washable paint into small trays.
- Help your toddler stamp their thumb inside the heart.
- Draw stems under each thumbprint with a green marker.
- Add grass along the bottom.
- Let dry.
- Encourage your toddler to scribble a message inside.
- Related post How to Transform Your Classroom with These Fun and Festive Mother’s Day Decoration Ideas
“Tiny Hands, Big Love” Clay Handprint Keepsake Plaque
A handprint in clay freezes a moment in time forever. This keepsake is simple to make and becomes a treasured reminder of your toddler’s tiny hands.
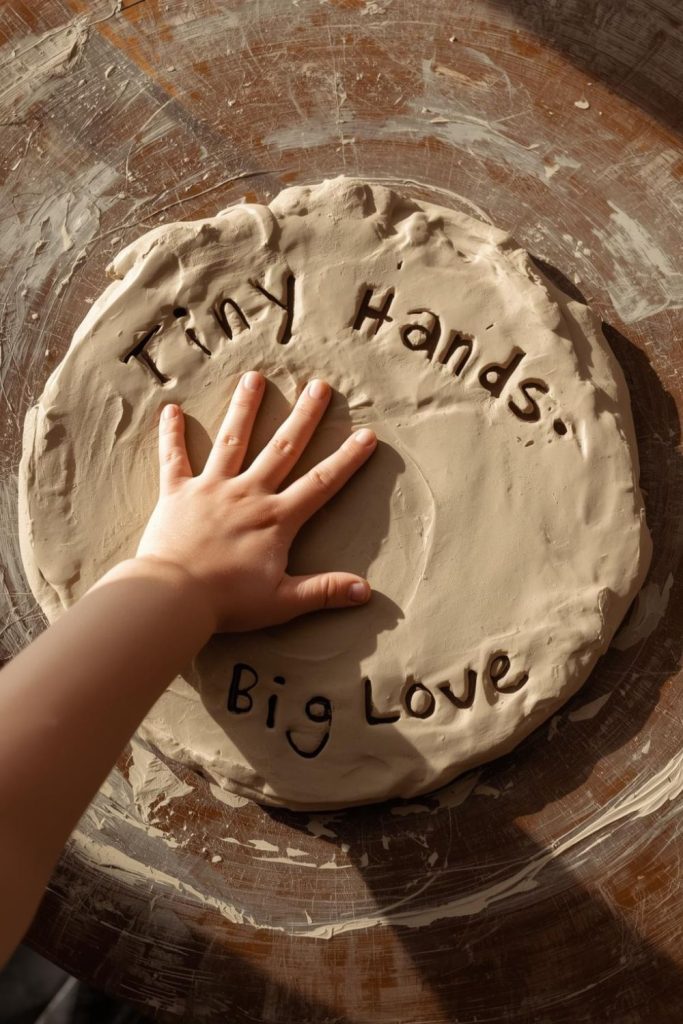
Step by Step Method:
- Roll air-dry clay into a thick circle (about ½ inch).
- Gently press your toddler’s hand into the center.
- Lift carefully to keep the imprint clear.
- Write “Tiny Hands, Big Love” and the date with a toothpick.
- Let dry 24–48 hours.
- Optionally, paint lightly once dry.
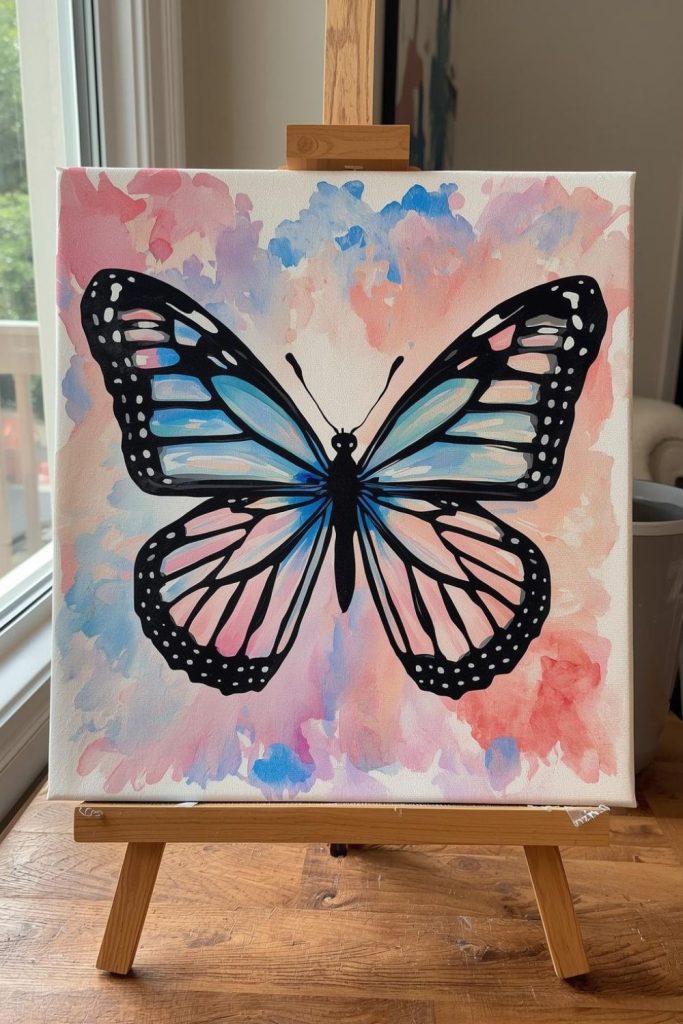
Finger-Painted Butterfly Art with Mom’s Name in Glitter
Butterflies made from hand or finger paint are cheerful and bright. Toddlers love creating symmetrical patterns and adding sparkly details.

Step by Step Method:
- Fold paper in half.
- Paint blobs of color on one side.
- Fold and press to create a butterfly shape.
- Open carefully to reveal the butterfly.
- Paint a black body in the center.
- Write Mom’s name in glue and sprinkle glitter.
- Shake off excess glitter.
Footprint Butterfly Canvas with Soft Watercolor Background
Tiny feet create whimsical butterfly wings. Adding a soft watercolor background makes it look like a dreamy spring scene.
Step by Step Method:
- Brush watercolor paint across a canvas for the background.
- Let dry slightly.
- Paint your toddler’s feet and press side by side for wings.
- Add a black body and antenna once dry.
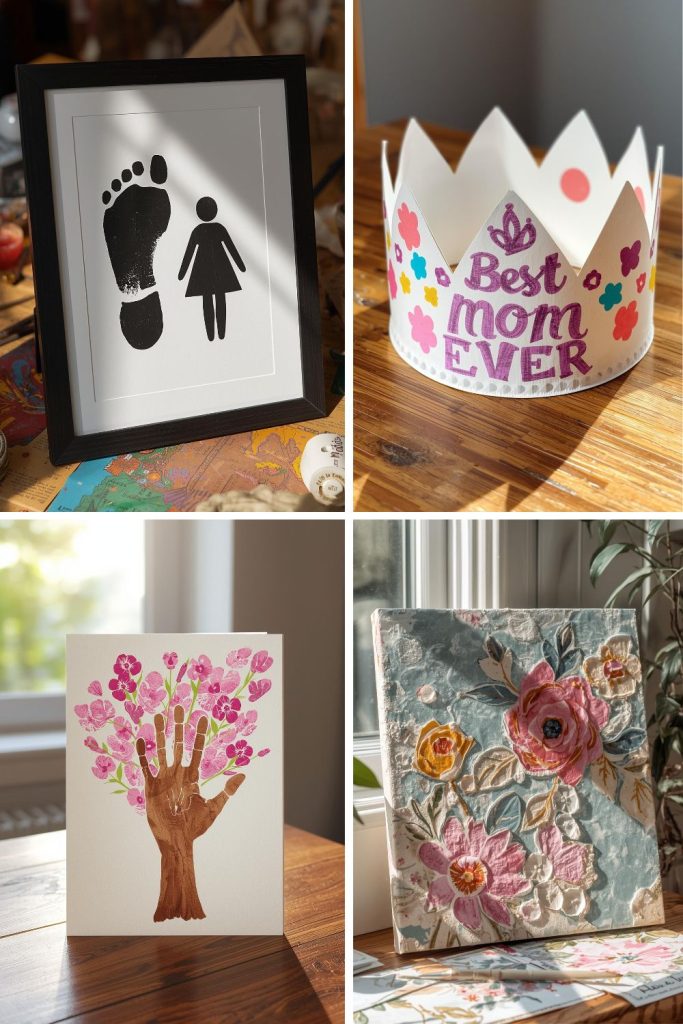
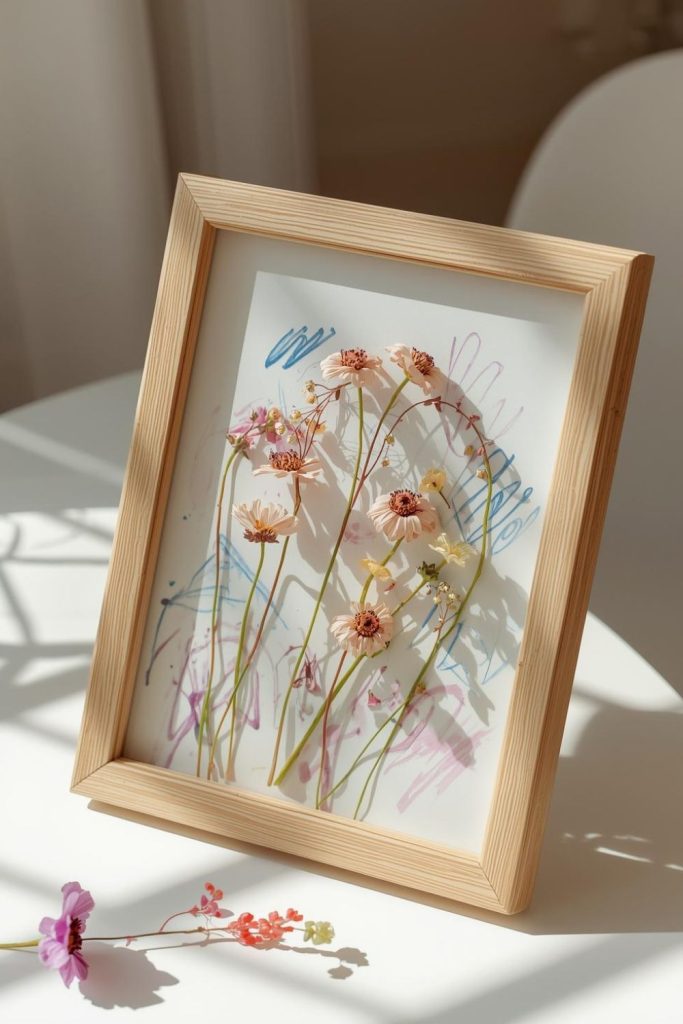
Pressed Flower and Scribble Collage in a Floating Frame
Combining pressed flowers with toddler scribbles creates a sweet, artistic keepsake. The result is colorful, textured, and personal.
Step by Step Method:
- Press small flowers between books for a few days.
- Let your toddler scribble freely on white paper.
- Arrange and glue dried flowers on top.
- Place the collage inside a floating frame.
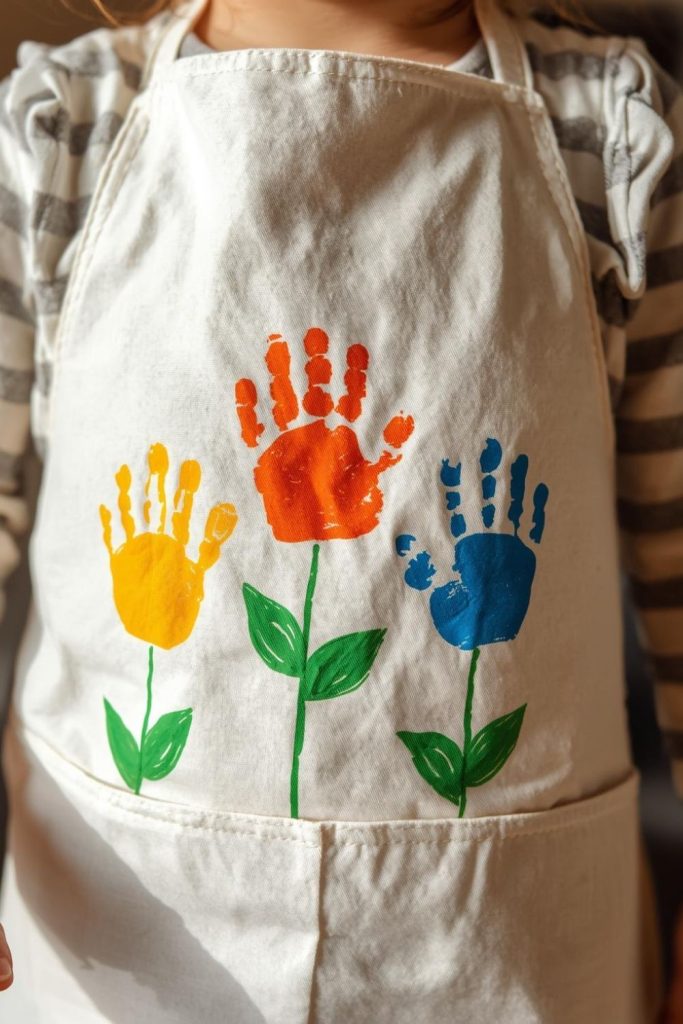
Handprint Apron Gift with Fabric Paint Florals
A decorated apron is both practical and sentimental. Your toddler’s handprints become cheerful flowers your mom can wear proudly.
Step by Step Method:
- Lay a plain cotton apron flat and insert cardboard.
- Stamp handprints with fabric paint across the apron.
- Add stems and leaves with a brush.
- Heat-set paint according to instructions.
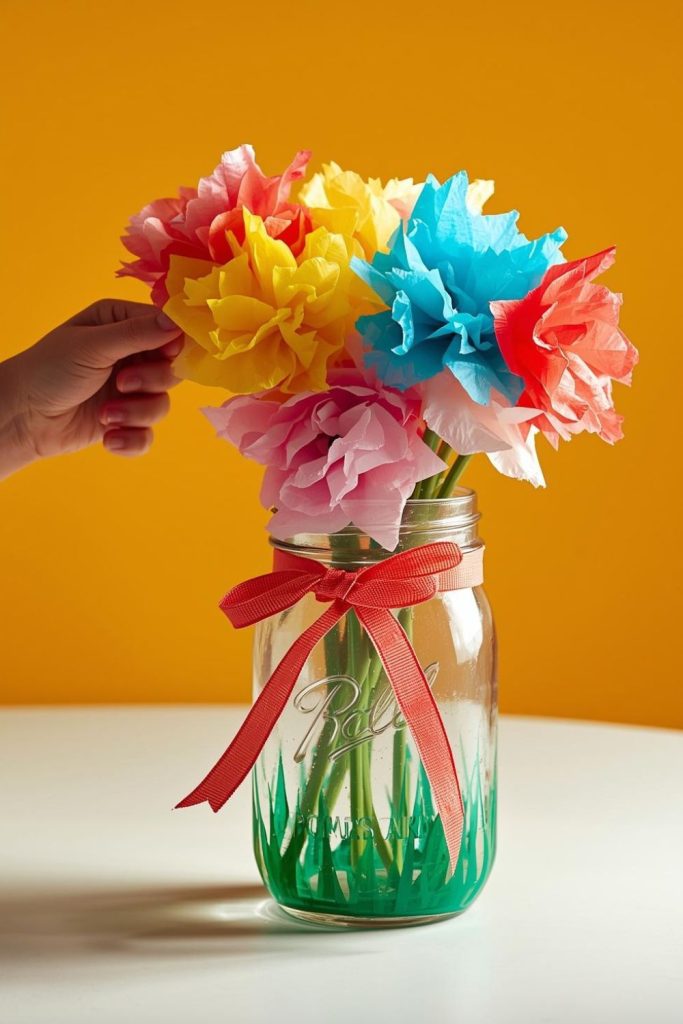
Mason Jar “Love Blooms” Tissue Paper Flower Craft
Tissue paper flowers in a painted jar make a colorful, lasting bouquet. Toddlers enjoy scrunching the paper and seeing it transform into flowers.
Step by Step Method:
- Let your toddler paint the mason jar with washable paint.
- Wrap tissue paper squares around green pipe cleaners to make flowers.
- Place flowers in the jar.
- Tie a ribbon around the rim.
Painted Rock Paperweight with Toddler Doodle Portrait
A smooth rock becomes a unique, playful keepsake. Toddlers’ doodles make this paperweight full of personality.
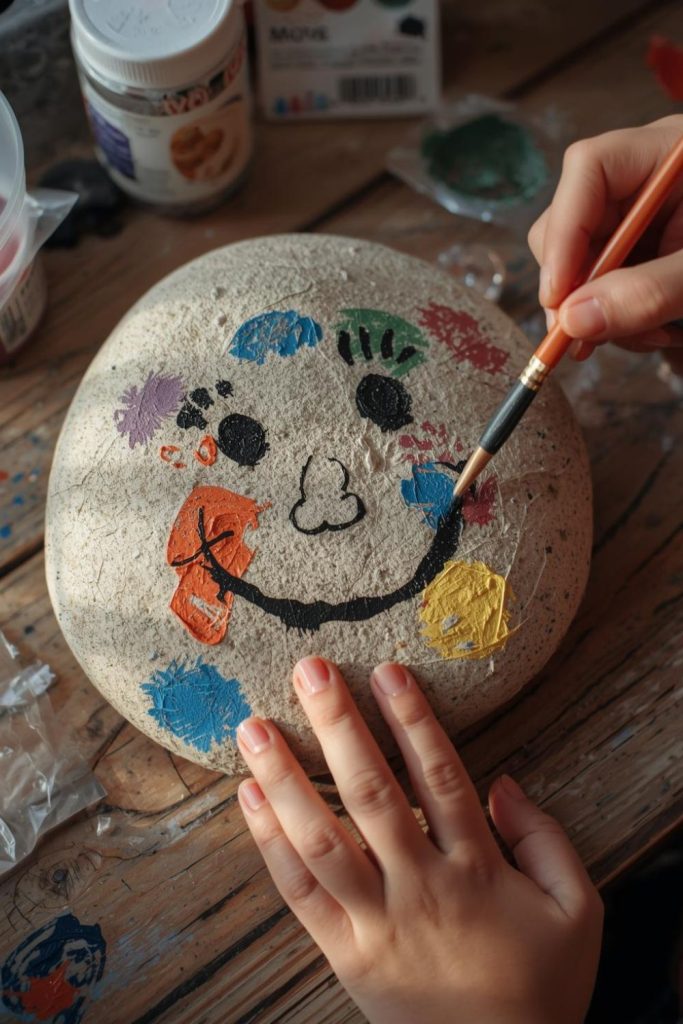
Step by Step Method:
- Wash and dry a flat rock.
- Let your toddler paint a face or doodles.
- Once dry, seal with clear mod podge.
Handprint Sunbeam Art with “You Are My Sunshine” Theme
A yellow handprint sunbeam is simple, cheerful, and bright. Adding rays with fingers makes it interactive for toddlers.
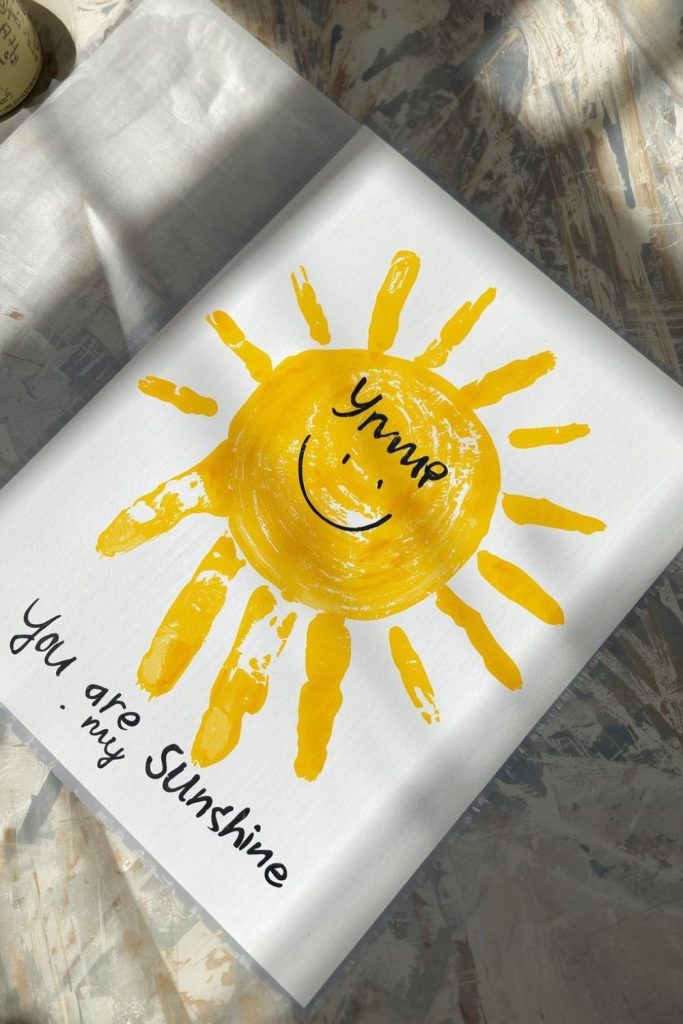
Step by Step Method:
- Paint your toddler’s palm yellow.
- Press onto paper for the sun center.
- Use fingers to create sun rays.
- Write “You Are My Sunshine” above.
Cupcake Liner Flower Bouquet Mounted on Cardstock
Cupcake liners naturally resemble flower petals and are easy to glue. They make a bright bouquet that toddlers can assemble quickly.
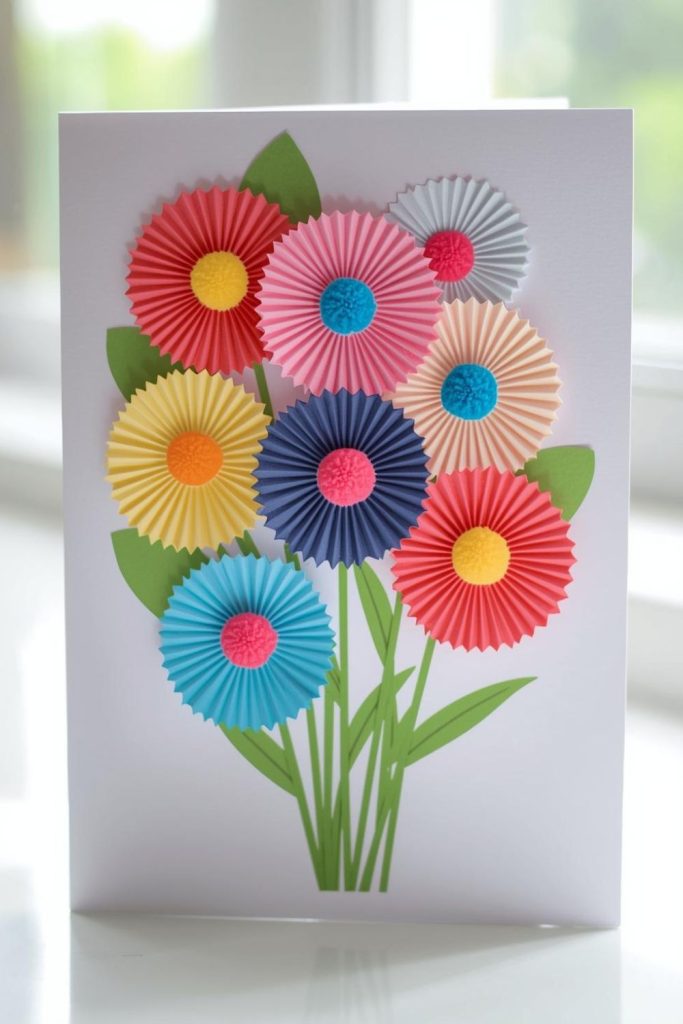
Step by Step Method:
- Flatten colorful cupcake liners.
- Glue liners onto cardstock in a bouquet arrangement.
- Place a pom pom or button in the center of each flower.
- Draw stems and leaves with markers.
Salt Dough Heart Ornament with Toddler’s Initials
Salt dough is inexpensive and easy to shape. Pressing tiny fingers into dough creates a lasting keepsake.
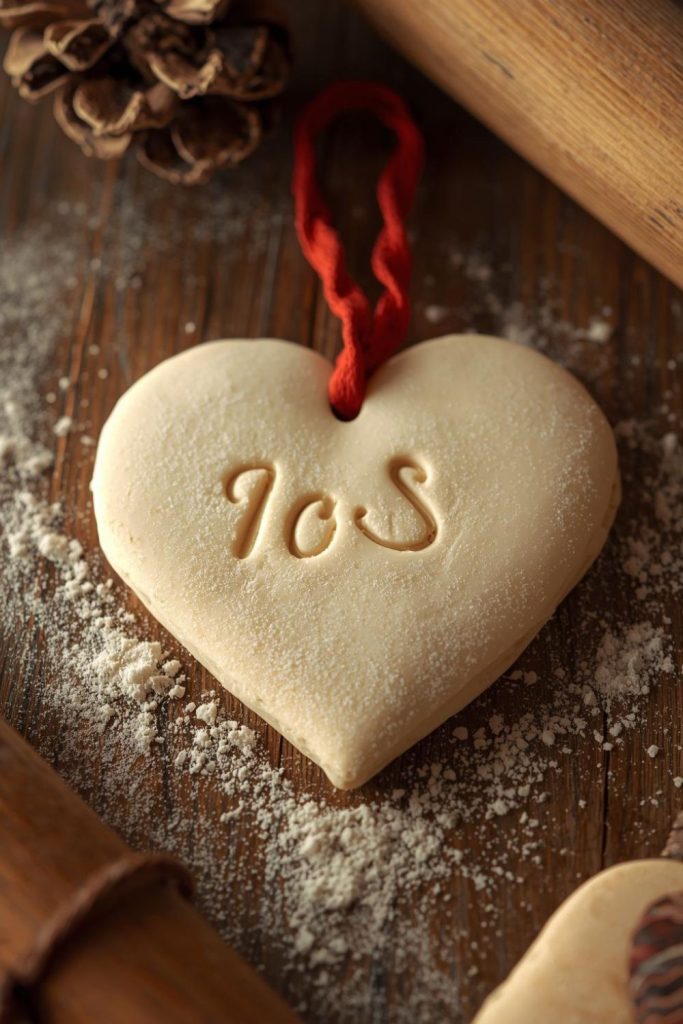
Step by Step Method:
- Mix 1 cup flour, ½ cup salt, ½ cup water to make dough.
- Roll dough and cut heart shapes.
- Press your toddler’s finger to add texture.
- Write initials lightly with a toothpick.
- Bake at low temperature until hardened.
- Let cool, attach ribbon for hanging.
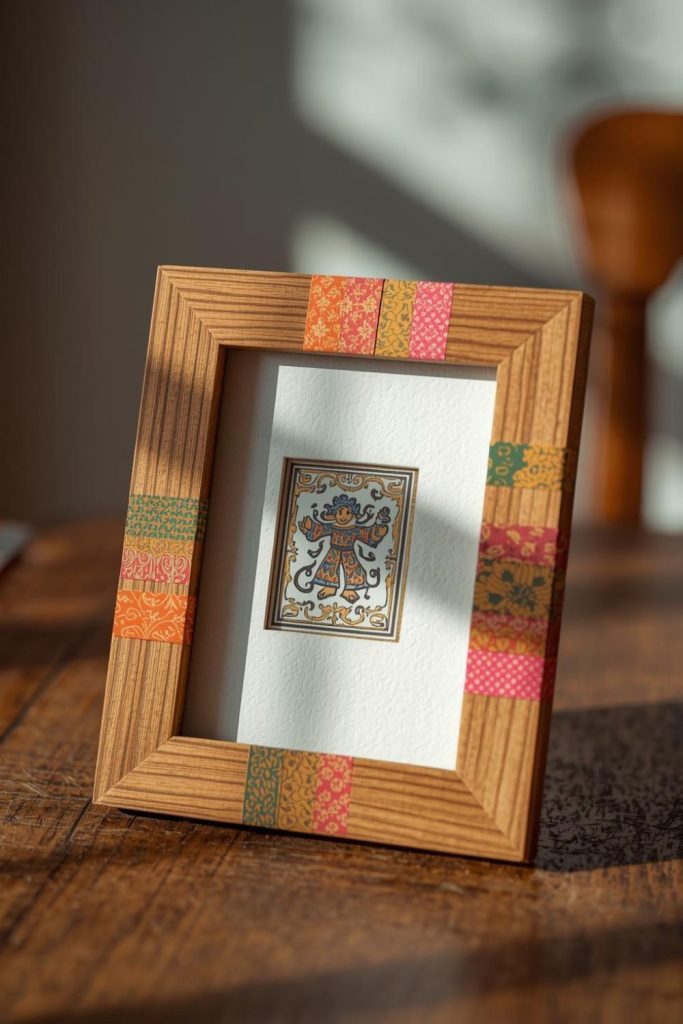
Washi Tape Patterned Photo Frame with Toddler Artwork Insert
Decorating a frame is simple, fun, and interactive. Toddlers can make it colorful and personal with stickers or drawings.
Step by Step Method:
- Wrap strips of washi tape around a plain wooden frame.
- Let your toddler decorate with stickers or drawings.
- Insert a small piece of their artwork inside.
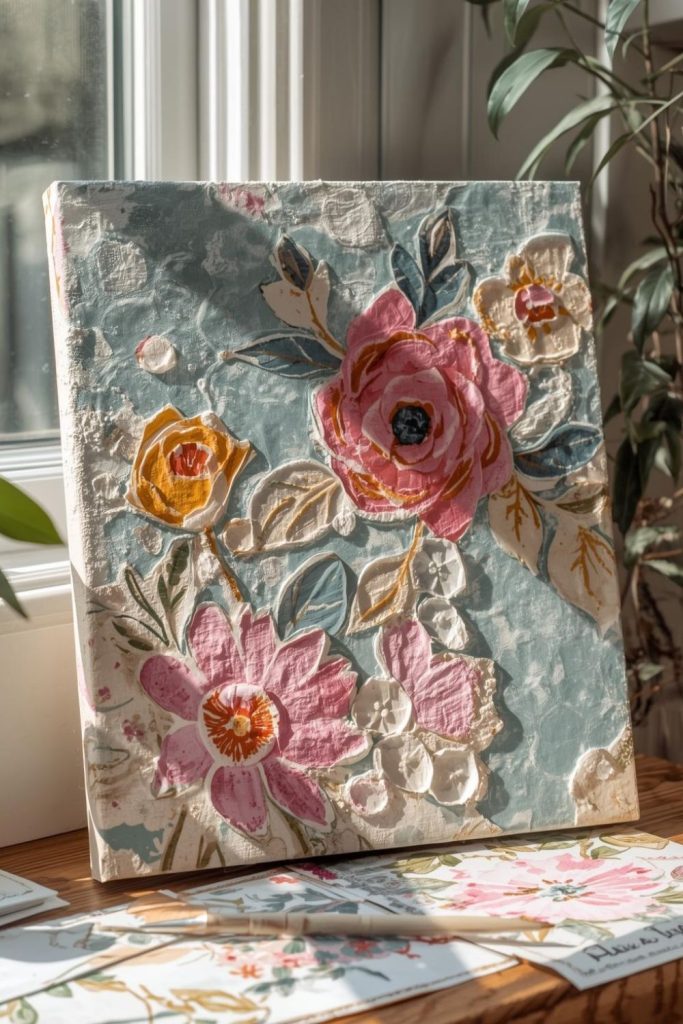
Bubble Wrap Printed Floral Canvas in Soft Spring Colors
Bubble wrap prints make playful textures on a canvas. Toddlers enjoy the bumpy feel and stamping motion.
Step by Step Method:
- Paint bubble wrap with pastel colors.
- Press bubble wrap onto canvas to create textured flowers.
- Repeat until canvas is filled.
- Add stems and leaves with a brush.
Popsicle Stick Picture Frame Decorated with Foam Stickers
A popsicle stick frame is simple to build and fun to decorate. It’s perfect for showcasing toddler art or photos.
Step by Step Method:
- Glue four popsicle sticks together to form a square.
- Let dry completely.
- Let your toddler decorate with foam stickers and markers.
- Add a favorite photo in the frame.
“Reasons I Love Mommy” Scribble Booklet with Crayon Drawings
Even scribbles can express love. This booklet becomes a cherished keepsake for moms.
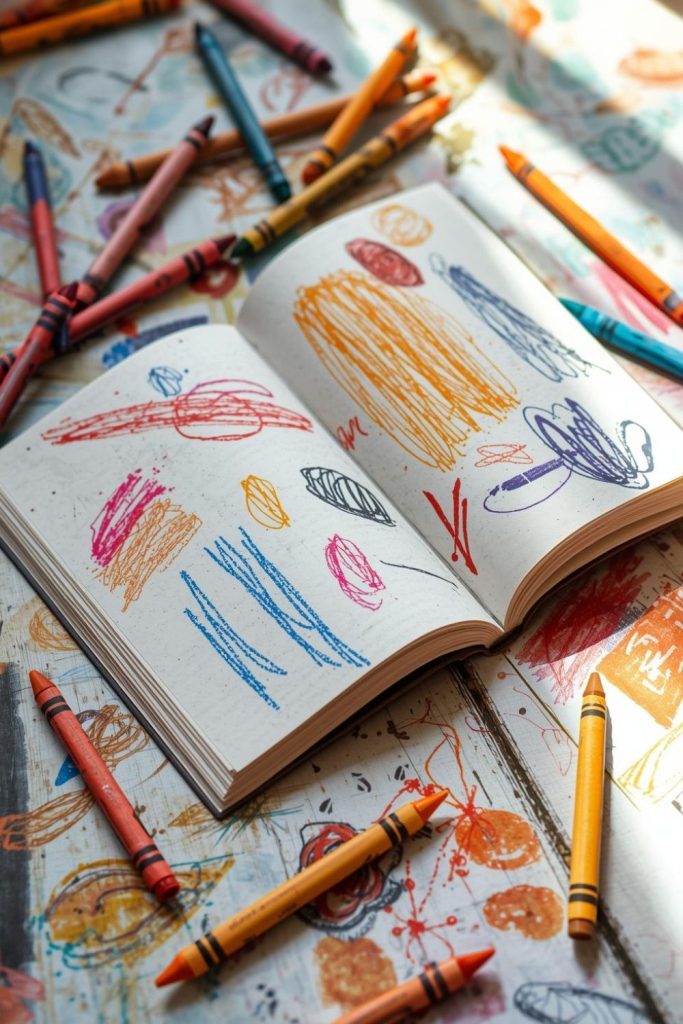
Step by Step Method:
- Fold and staple several pages together to create a booklet.
- Ask prompts like “I love Mommy because…”
- Write toddler’s answers.
- Let your toddler add illustrations and scribbles.
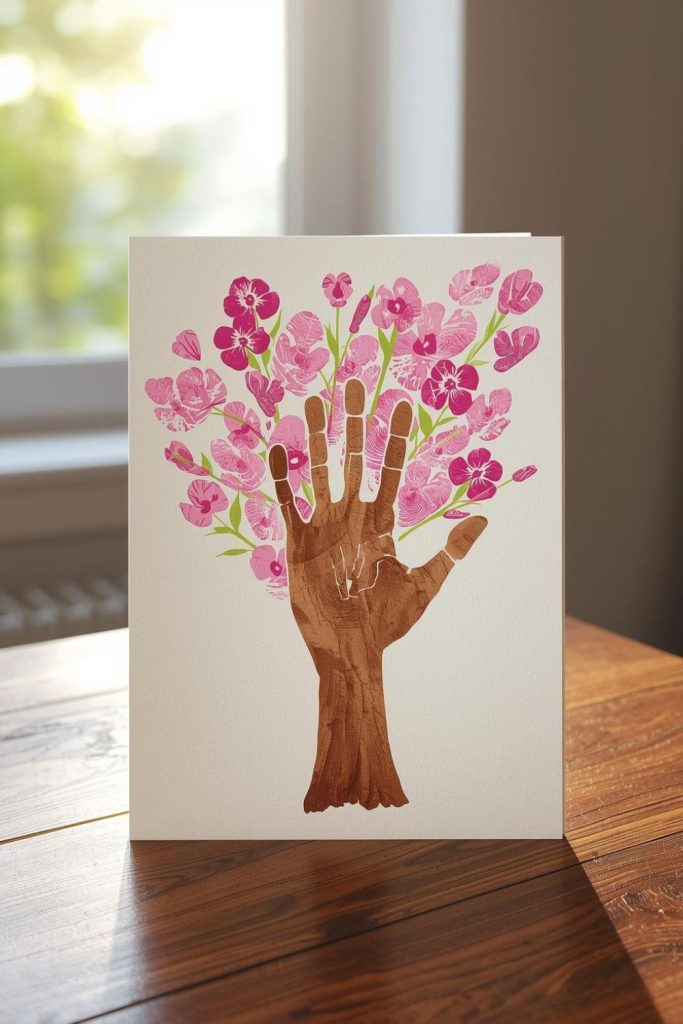
Handprint Tree with Blossoms Made from Finger Dots
Handprints make a tree trunk, and fingerprints become blossoms. It’s a sweet way to combine hands-on fun with creative expression.
Step by Step Method:
- Stamp a brown handprint to form the tree trunk.
- Dip fingertips in pink paint to add blossoms.
- Repeat until the tree is full.
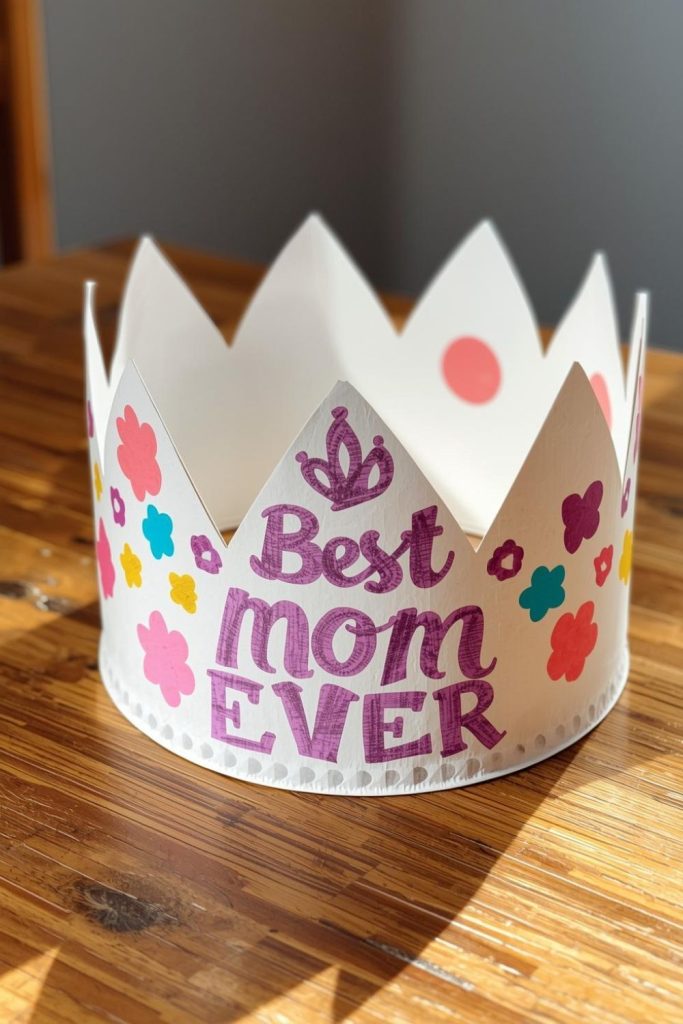
Paper Plate Crown Decorated as “Best Mom Ever”
Toddlers can create a fun crown to celebrate mom. This is playful and makes for a cute photo opportunity.
Step by Step Method:
- Cut a paper plate into a crown shape.
- Let your toddler paint the crown.
- Decorate with stickers or markers.
- Write “Best Mom Ever” across the front.
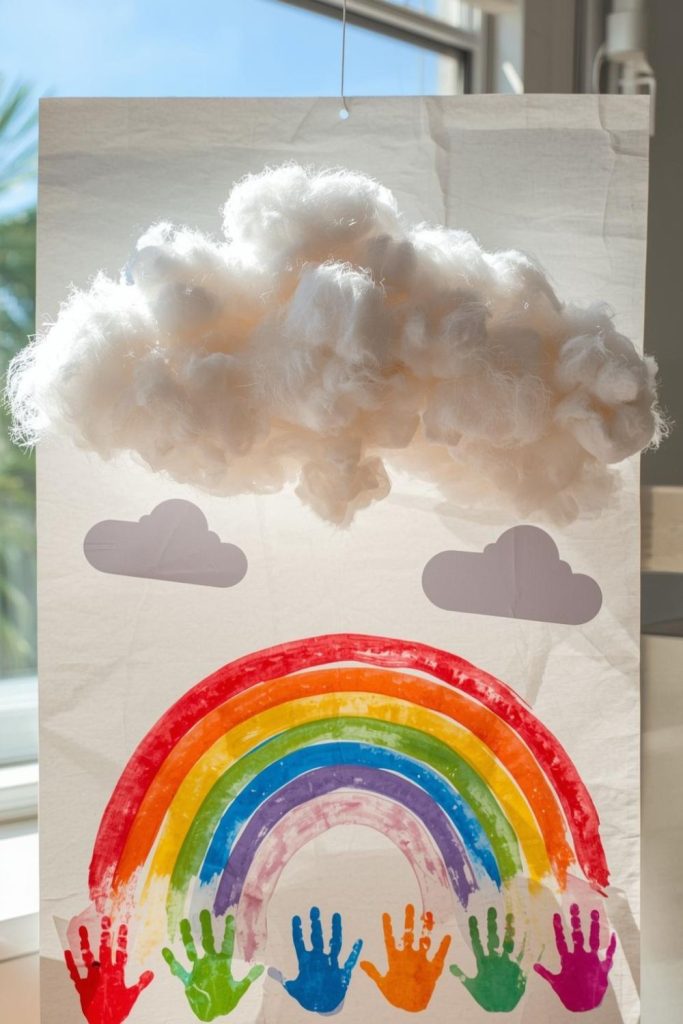
Cotton Ball Painted Cloud Art with Rainbow Handprints
Soft clouds paired with rainbow handprints make a dreamy, tactile piece. Toddlers love pressing their hands to create colorful rainbows.
Step by Step Method:
- Glue stretched cotton balls onto paper for clouds.
- Paint toddler’s hands in rainbow colors.
- Press handprints below clouds for a rainbow effect.
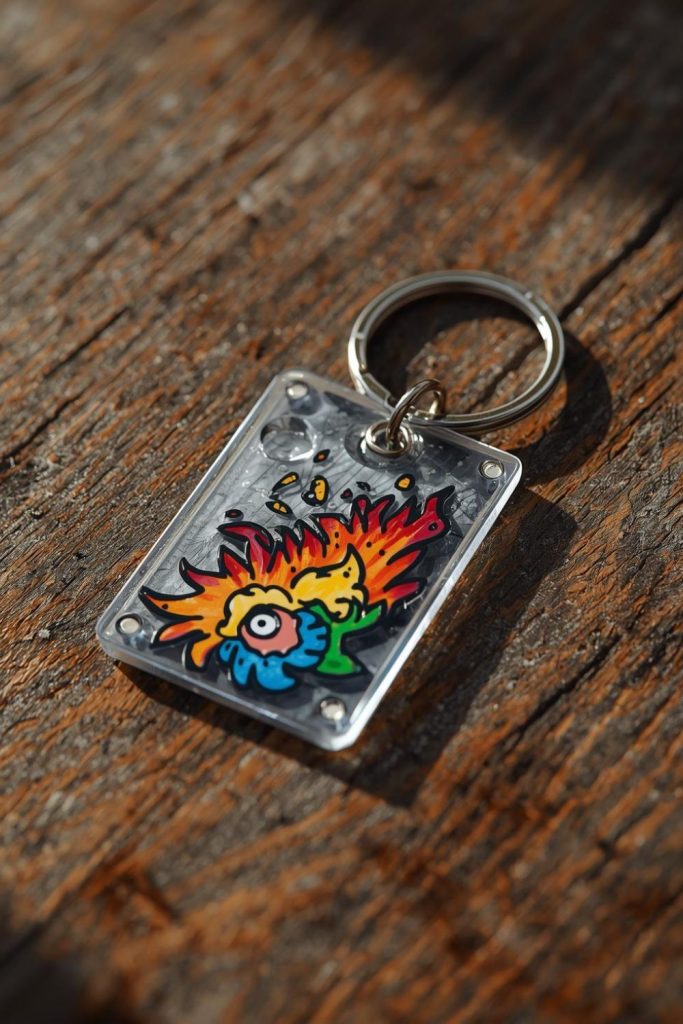
DIY Shrink Plastic Keychain with Toddler Drawing
Shrink plastic preserves tiny drawings in a fun, wearable way. It’s a perfect keepsake that moms can carry.
Step by Step Method:
- Draw a design on shrink plastic sheet with permanent markers.
- Cut around the design.
- Bake according to instructions.
- Attach a key ring once cooled.
Canvas Tote Bag with Minimalist Toddler Handprint Design
A simple tote bag becomes wearable art. Bold handprints make it personal and memorable.
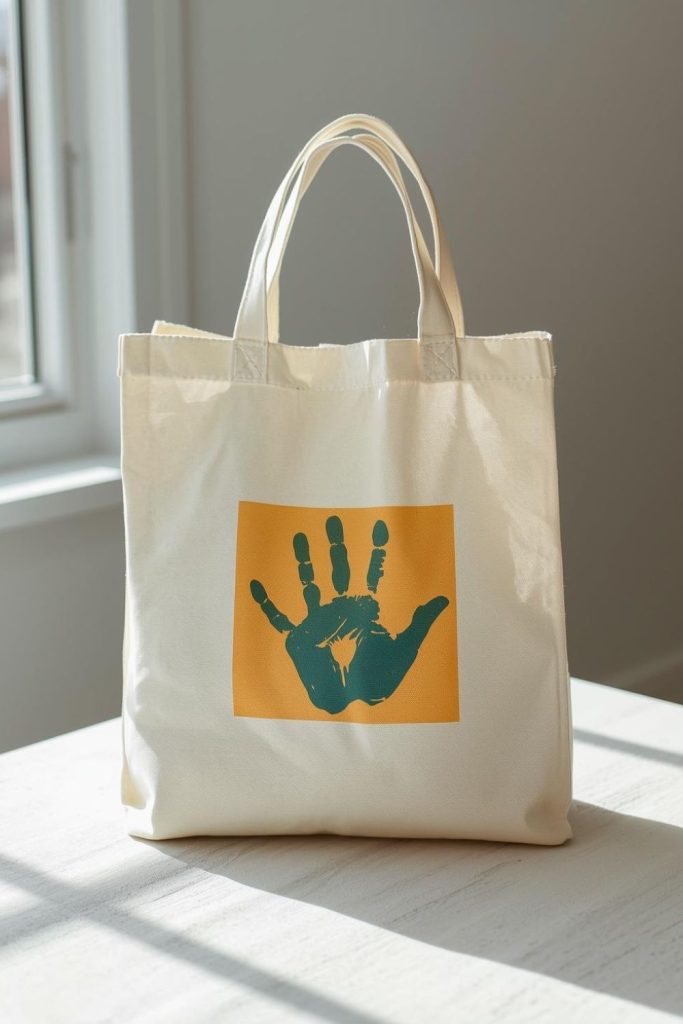
Step by Step Method:
- Insert cardboard inside a plain tote bag.
- Paint one bold handprint in the center.
- Let dry completely.
Heart Collage Art Made from Torn Pink and Red Paper
Tearing and gluing paper develops little fingers while making a textured heart. It’s simple but visually striking.
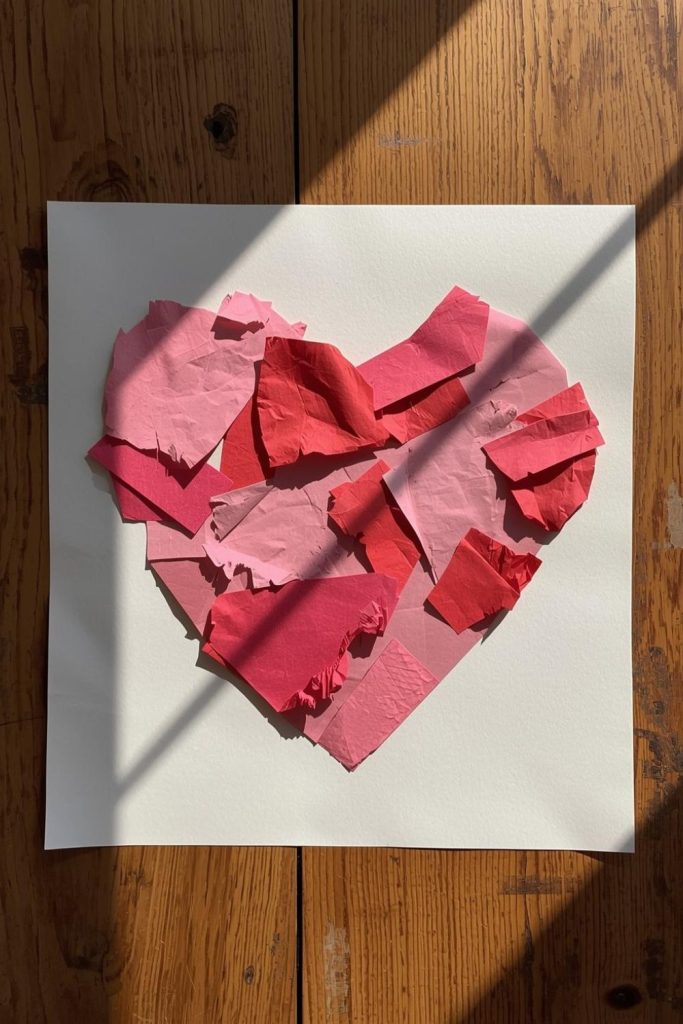
Step by Step Method:
- Draw a large heart outline.
- Tear pink and red paper into small pieces.
- Help toddler glue pieces inside the heart.
- Fill completely and let dry.
Fingerprint Ladybug Card with Bright Garden Scene
Fingerprints become cute ladybugs. Toddlers enjoy the stamping motion and seeing their prints transform.

Step by Step Method:
- Stamp red fingerprints on green paper for ladybug bodies.
- Add black dots and heads once dry.
- Draw grass, flowers, and leaves around the bugs.
Wooden Jewelry Dish with Toddler Thumbprint Hearts
A small wooden dish becomes a sentimental keepsake. Thumbprint hearts are easy and adorable.
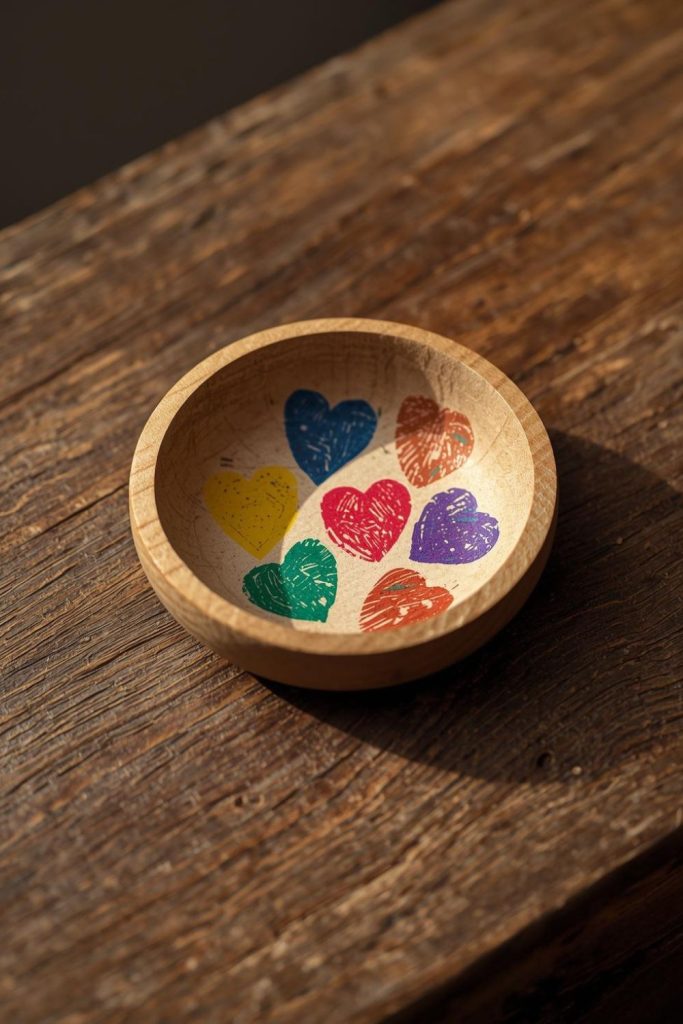
Step by Step Method:
- Paint the inside of a wooden dish.
- Press toddler’s thumbs into paint to create heart shapes.
- Let dry and seal if desired.
Framed Footprint “Mom & Me” Silhouette Artwork
Footprints make a timeless silhouette. Pairing a toddler’s footprint with a simple mom outline feels personal and artistic.
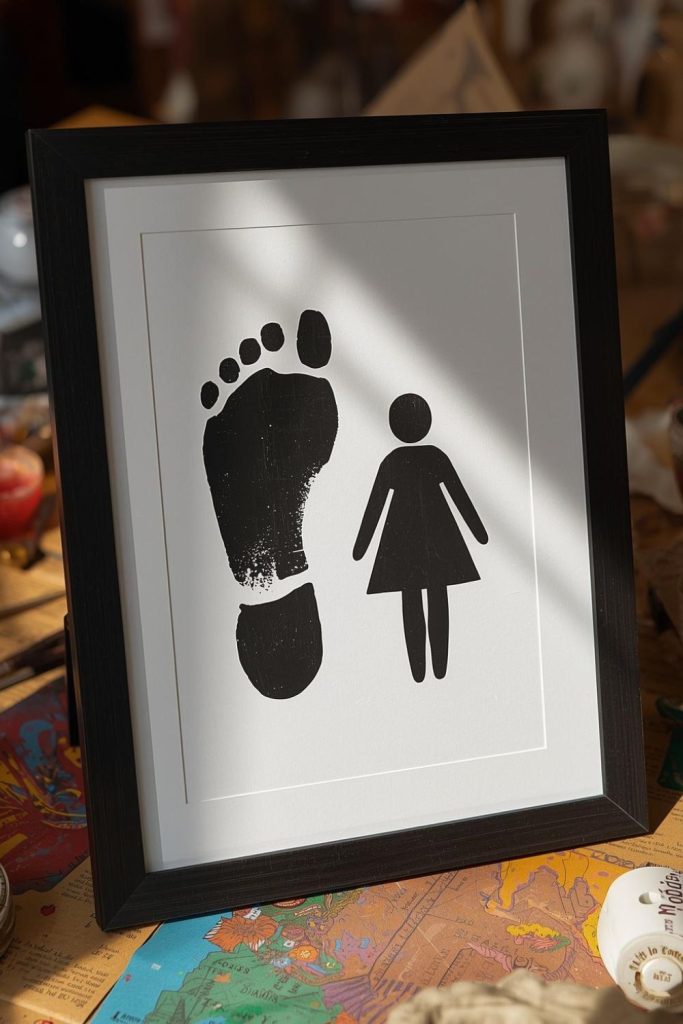
Step by Step Method:
- Paint a toddler footprint in black on white paper.
- Draw or paint a mom figure next to it.
- Frame the artwork for display.