Spending time outdoors leaves behind small moments that feel special but fade quickly once the trip ends. Simple hands on activities using natural finds from camping help hold onto those memories in a personal way. This collection of camping crafts for adults offers calm, creative ideas that turn everyday nature materials into meaningful keepsakes, décor, and memory pieces without needing complex tools or setup.
Pressed Wildflower Lantern Jars

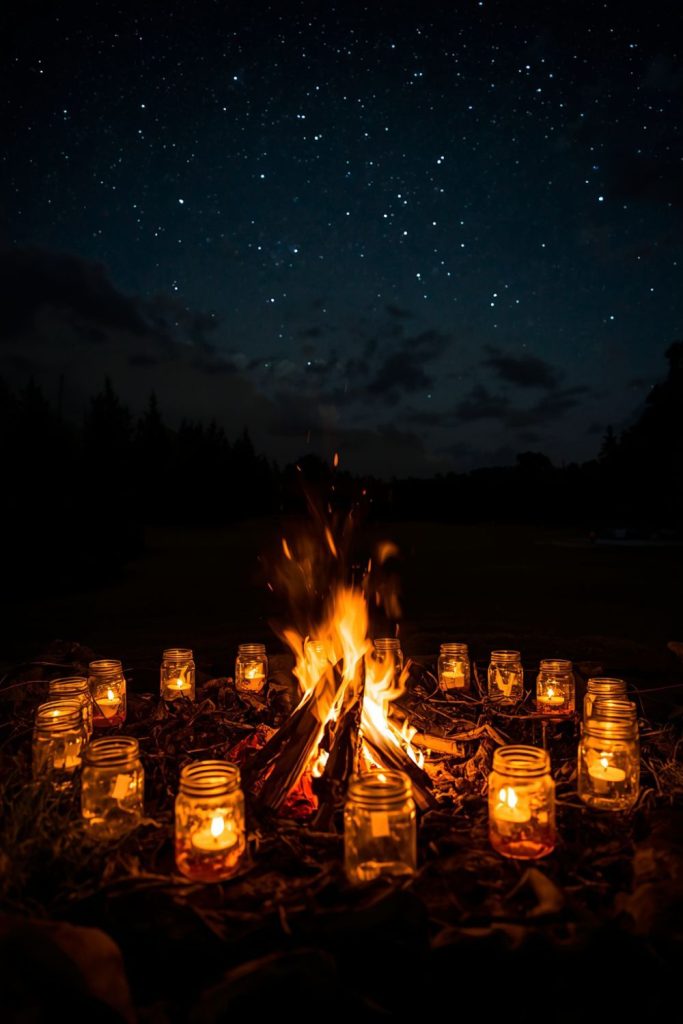
Soft glowing jars filled with pressed flowers can bring a warm mood to any tent table or cabin shelf. The mix of light and natural shapes creates a calm evening feeling that stays with you long after the trip ends.
Steps
1 Collect small flowers and leaves during walks, choose ones that are flat
2 Place them between book pages or paper sheets until dry
3 Clean a glass jar and place a candle or LED light inside
4 Arrange pressed pieces on the outer surface using light glue
5 Let everything dry before using at night for soft glowing effect
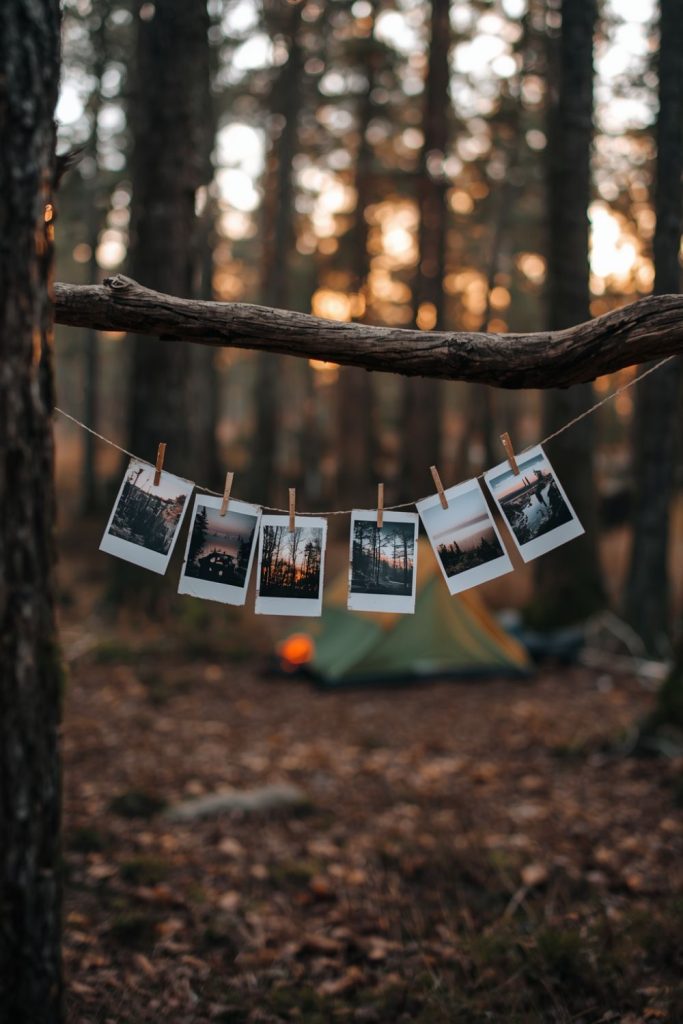
Driftwood Hanging Photo Display
Driftwood pieces can hold memories in a very simple visual form. Photos clipped along natural wood create a relaxed display that feels close to the outdoor setting where the moments happened.
Steps
1 Find a stable driftwood branch with interesting shape
2 Clean and dry it properly before use
3 Tie strong string or thin rope across both ends
4 Attach small clips or pegs along the line
5 Hang printed photos from camping days and adjust spacing
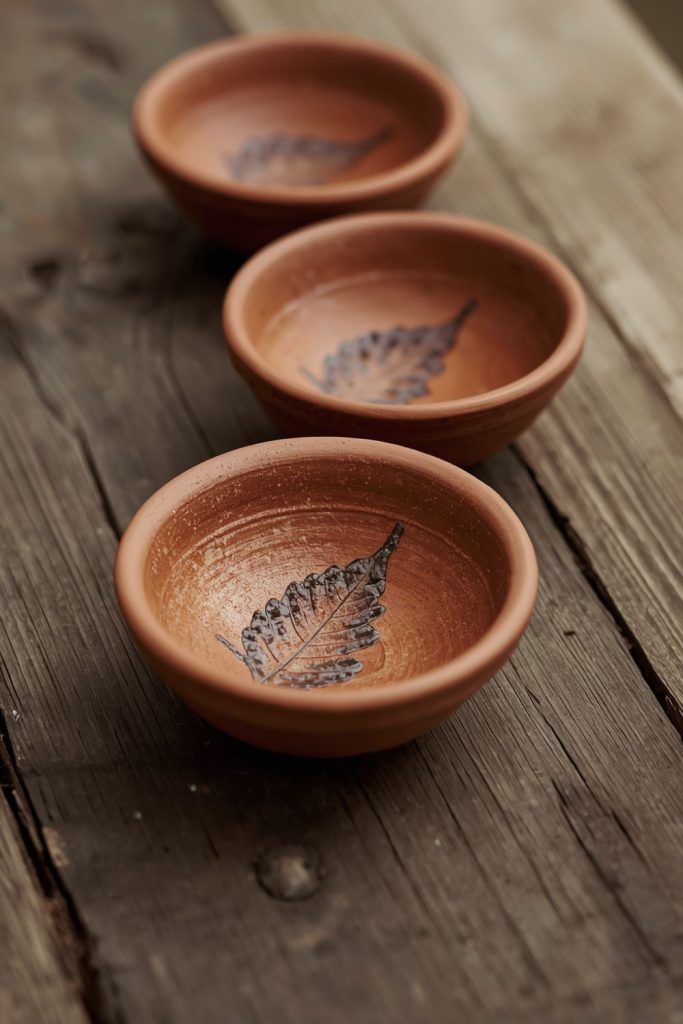
Air Dry Clay Leaf Impression Bowls
Leaf patterns pressed into clay create bowls that carry natural texture. These small bowls can hold rings, coins, or small items collected during outdoor stays.
Steps
1 Roll air dry clay into small flat circles
2 Press fresh leaves gently into surface to form patterns
3 Shape edges upward to form bowl shape
4 Leave to dry fully in shade for one or two days
5 Paint lightly if soft color finish is wanted
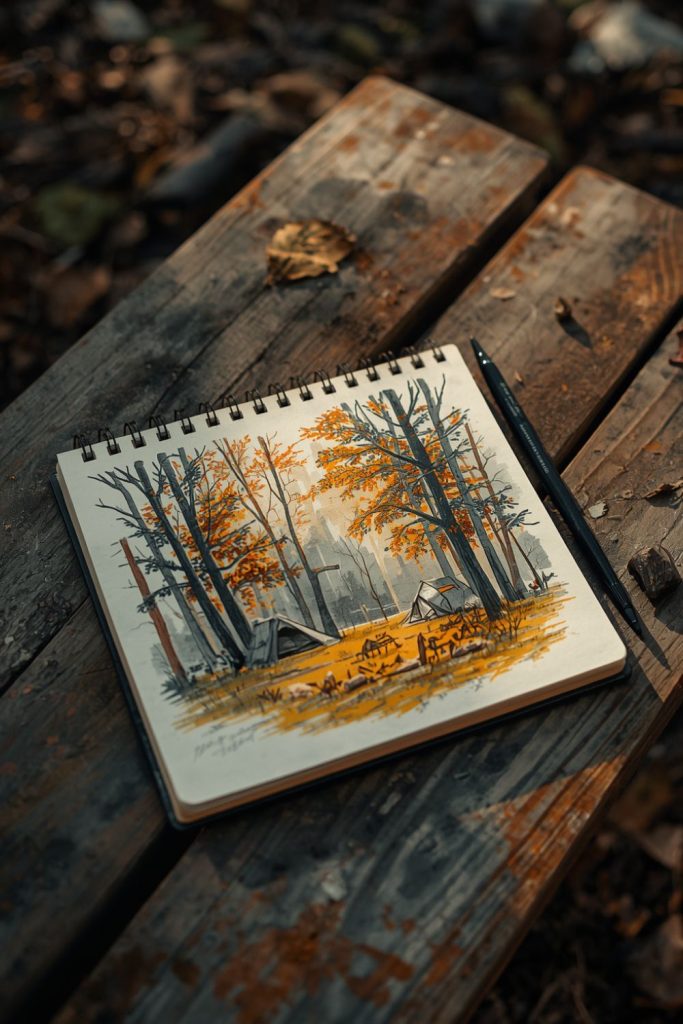
Charcoal Camping Landscape Sketch Art
Charcoal drawings capture scenes from outdoor stays using soft dark tones. Even simple sketches of trees or tents can bring strong memory feelings.
Steps
1 Take a small sketch pad and charcoal sticks
2 Sit near view that feels calm or memorable
3 Lightly sketch outline shapes first
4 Shade darker areas to create contrast
5 Fix drawing with simple spray to avoid smudging
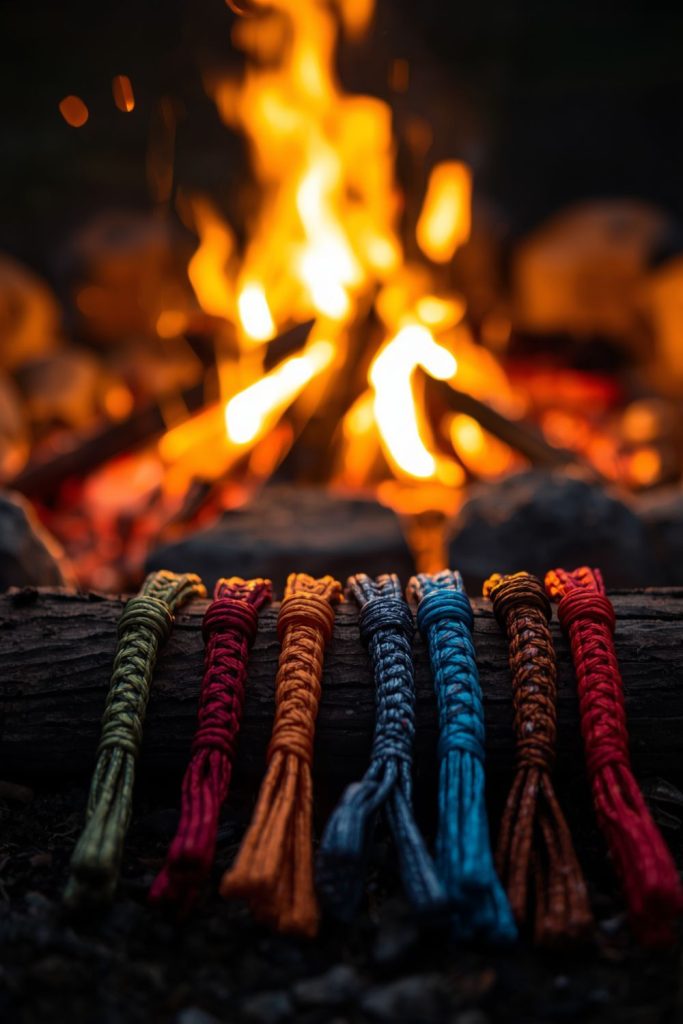
Paracord Woven Bracelets
Strong cord can be shaped into wearable pieces that also carry memory from outdoor days. These are simple to make while sitting near campfire.
Steps
1 Cut two colors of paracord equal length
2 Tie one end into tight knot base
3 Weave cords in alternating pattern around base
4 Keep tension steady for even shape
5 Finish with secure knot and trim ends
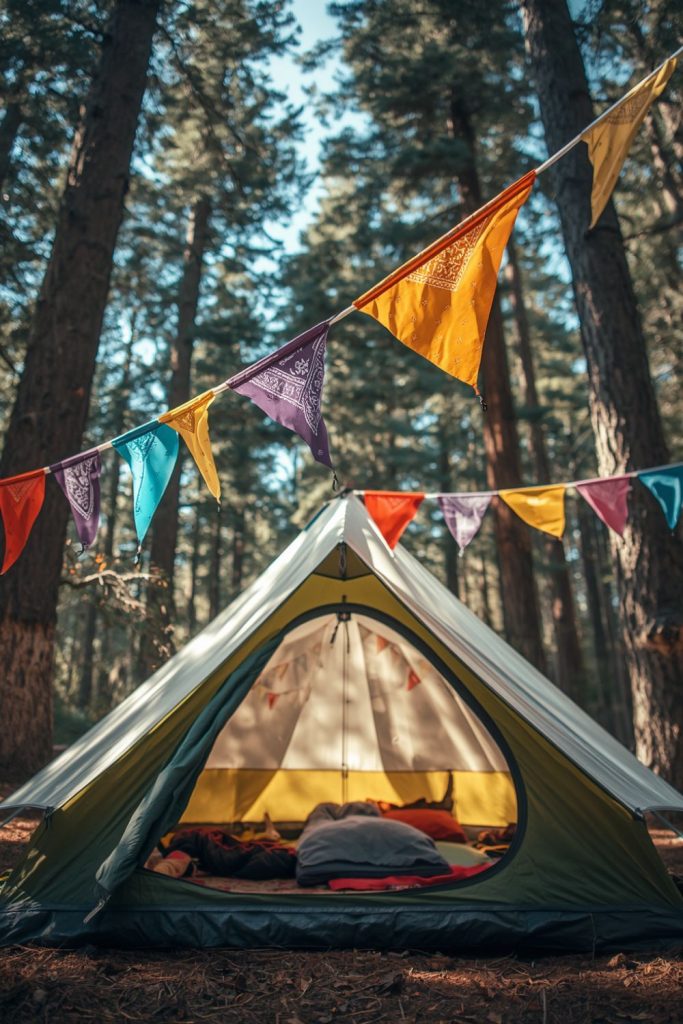
Fabric Bandana Camping Flag Bunting
Old fabric pieces can turn into hanging flags that decorate tents or outdoor spaces. The colors give a soft personal touch to camp setup.
Steps
1 Cut bandana or fabric into triangle shapes
2 Lay pieces in chosen color order
3 Attach to long string using simple stitching or knotting
4 Space each flag evenly
5 Hang across tent or outdoor seating area
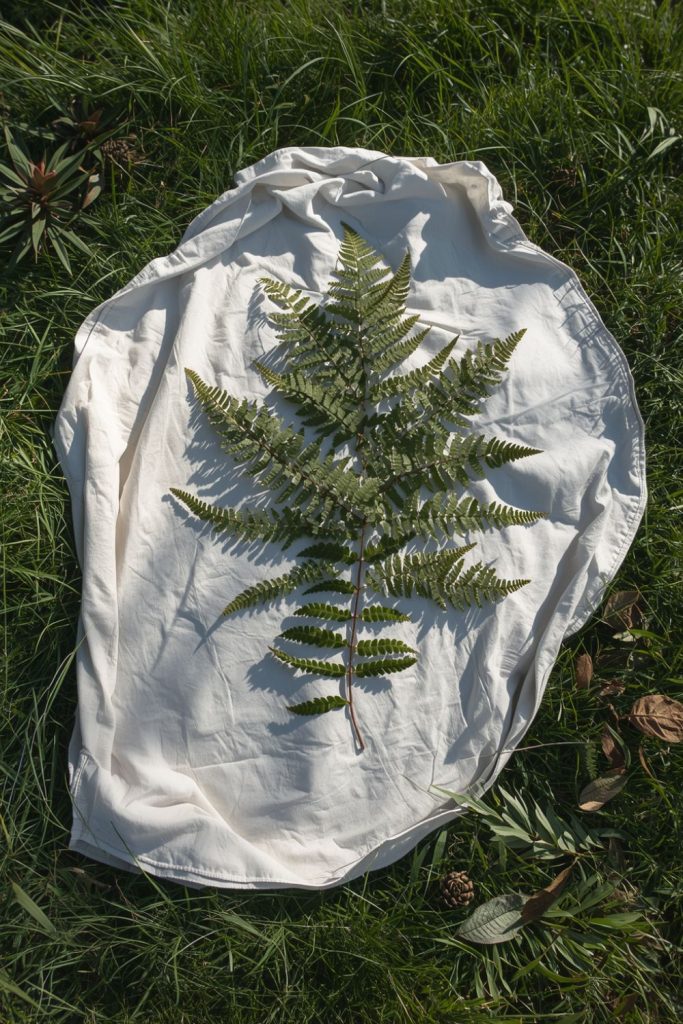
Sun Printed Botanical Fabric Art
Leaves placed on fabric under sunlight leave soft shadow prints. The result feels natural and calm with simple shapes formed by light exposure.
Steps
1 Place light fabric on flat surface under sunlight
2 Arrange leaves or fern pieces on top
3 Leave in sun for some time until print forms
4 Remove leaves carefully
5 Fix fabric with gentle wash after drying
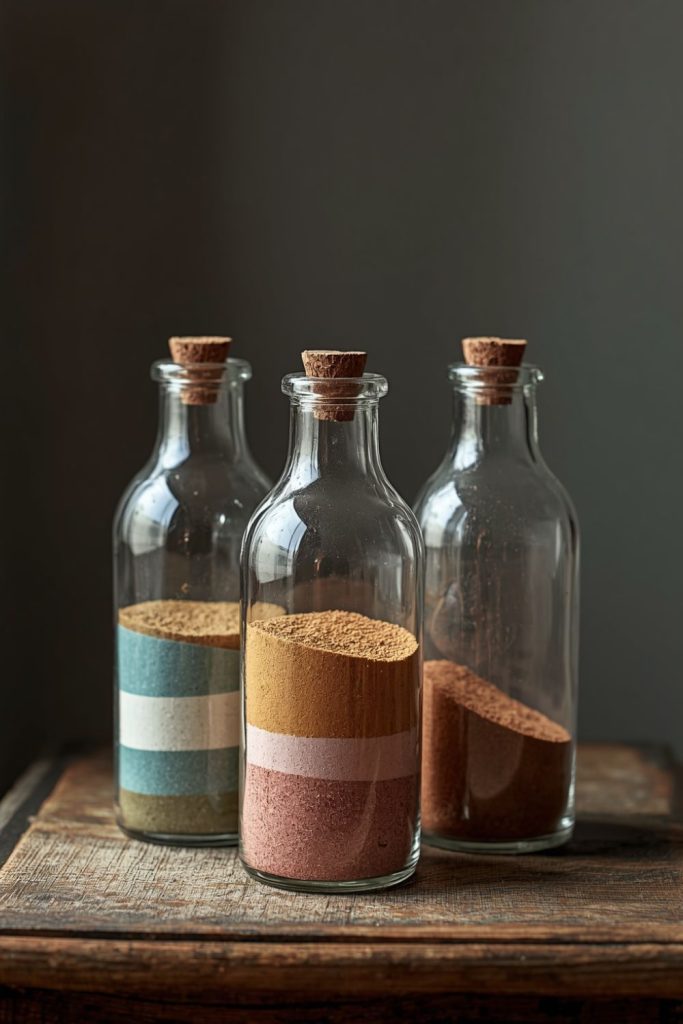
Layered Sand Decorative Bottles
Sand collected from different places can form layered visual memories inside bottles. Each layer shows a different stop from trips.
Steps
1 Gather small amounts of sand from safe locations
2 Clean a clear glass bottle
3 Pour sand slowly in layers of different colors
4 Tap bottle lightly to settle layers
5 Seal top with cork or lid
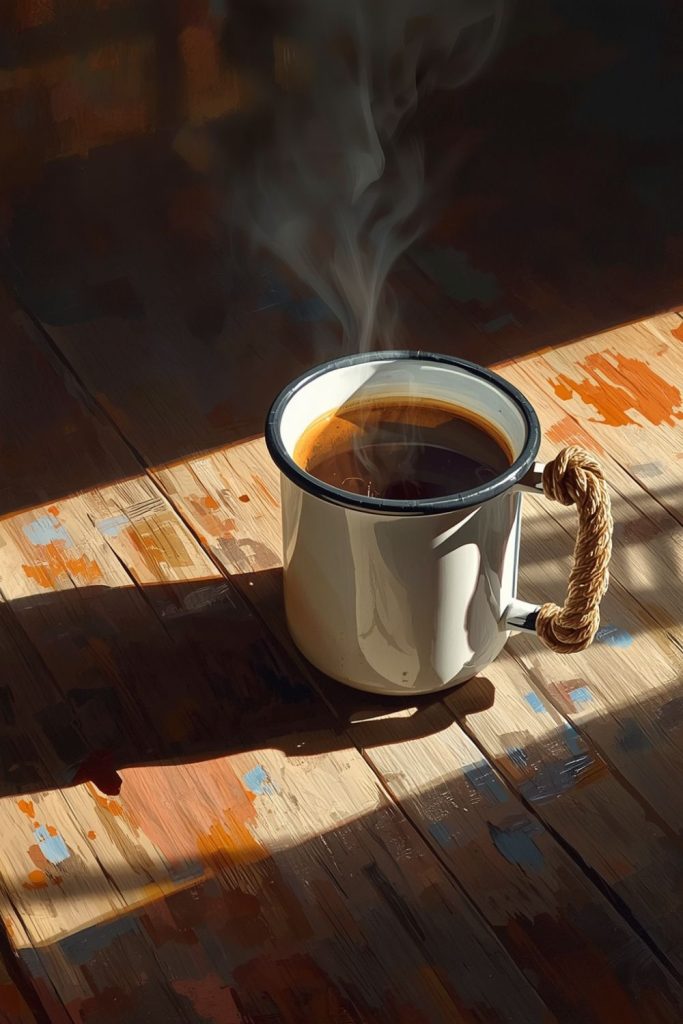
Rope Wrapped Camp Mug Handles
Simple rope wrapping gives mugs a personal outdoor style. It also improves grip during cold mornings outside.
Steps
1 Choose strong heat safe rope or cord
2 Start wrapping from base of handle
3 Keep tension steady while wrapping upward
4 Secure ends with strong knot or glue
5 Let it sit until fully stable
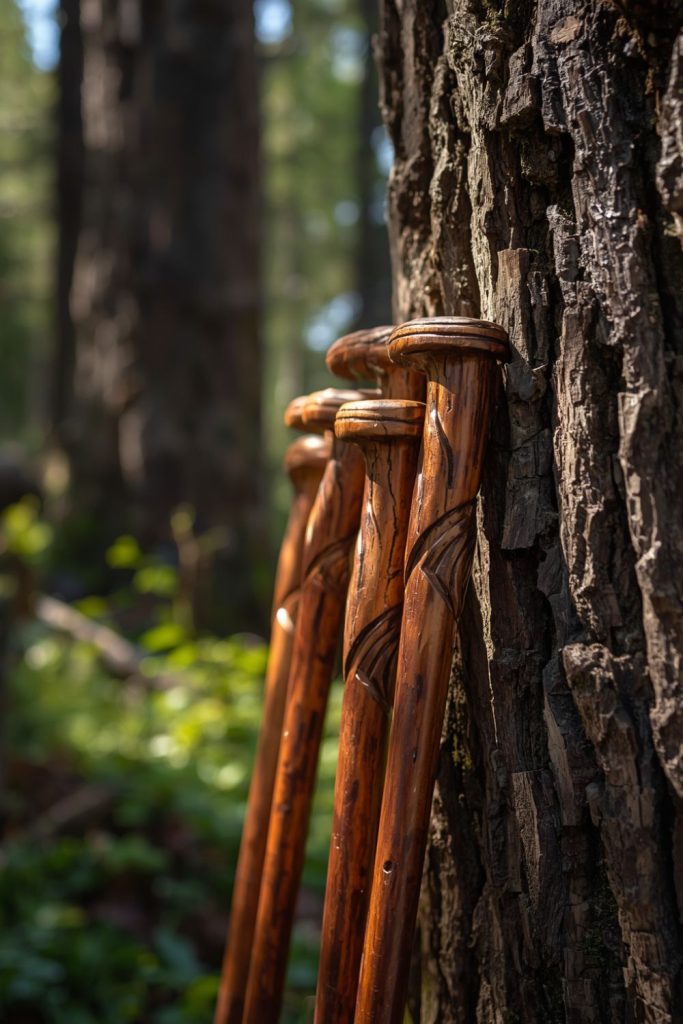
Whittled Wooden Walking Sticks
A walking stick carved from wood can carry small marks from each trip. It becomes a personal item over time.
Steps
1 Select sturdy straight branch
2 Remove bark gently using small knife
3 Smooth surface using sand if available
4 Carve simple patterns or marks
5 Let wood dry fully before use
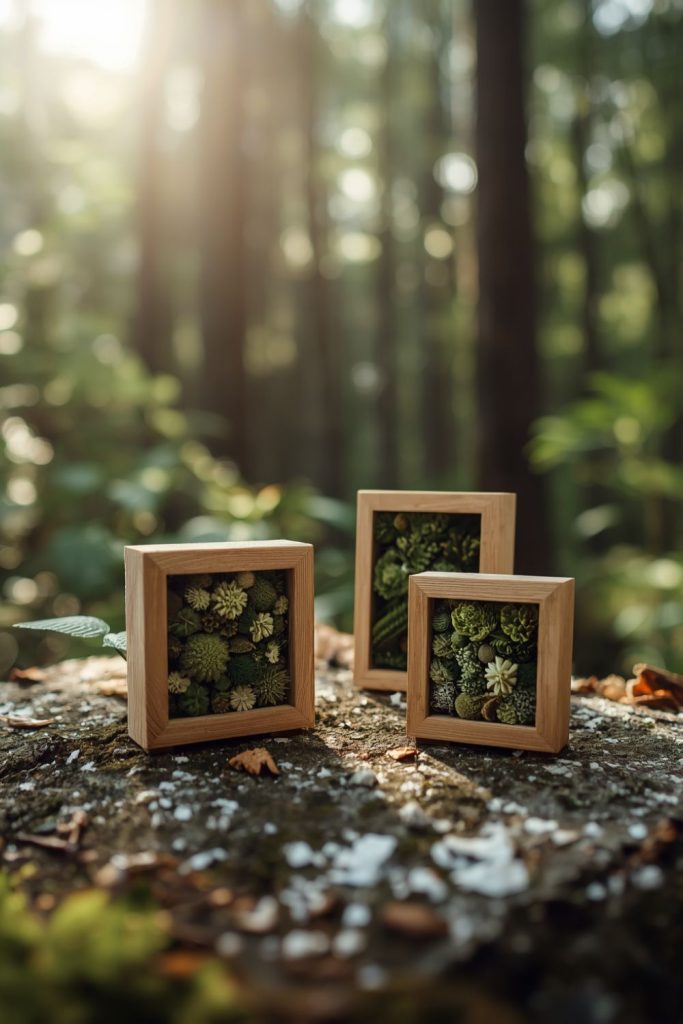
Pressed Moss Frame Panels
Soft moss pressed into frames creates natural wall texture that feels calm and earthy.
Steps
1 Collect dry or fresh moss carefully
2 Press it between heavy books for flattening
3 Prepare simple wooden frame base
4 Arrange moss pieces inside frame
5 Secure gently with glue or mesh backing
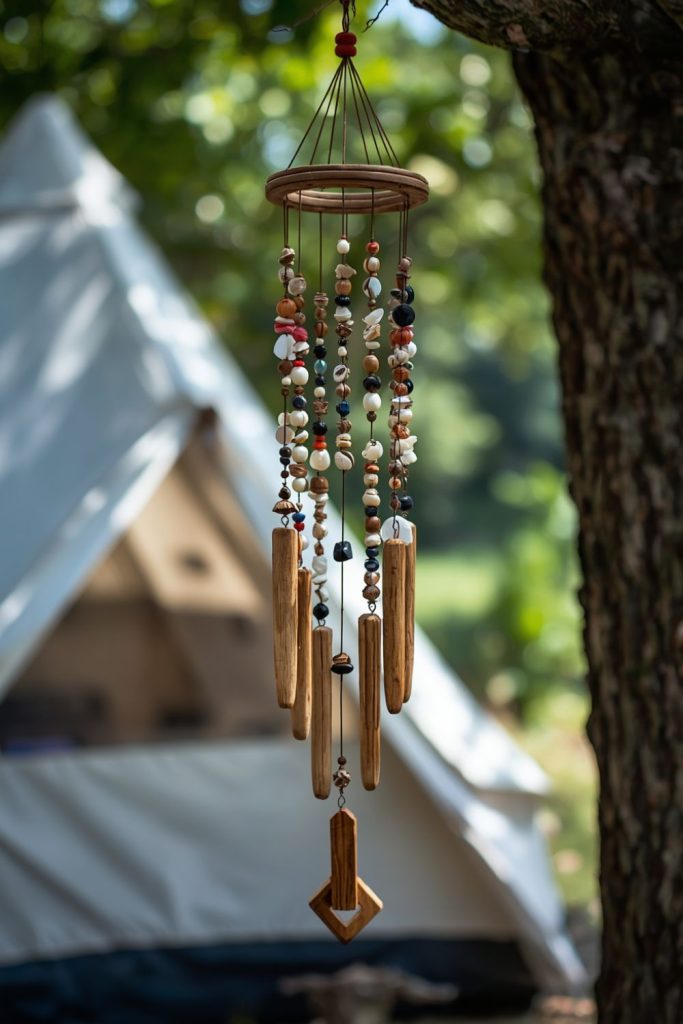
Beaded Nature Wind Chimes
Small beads and natural items can create soft sound pieces that move with wind outside tents.
Steps
1 Gather beads shells or small wooden pieces
2 Cut strings into different lengths
3 Attach items at ends of strings
4 Tie strings to circular base
5 Hang where wind can pass through
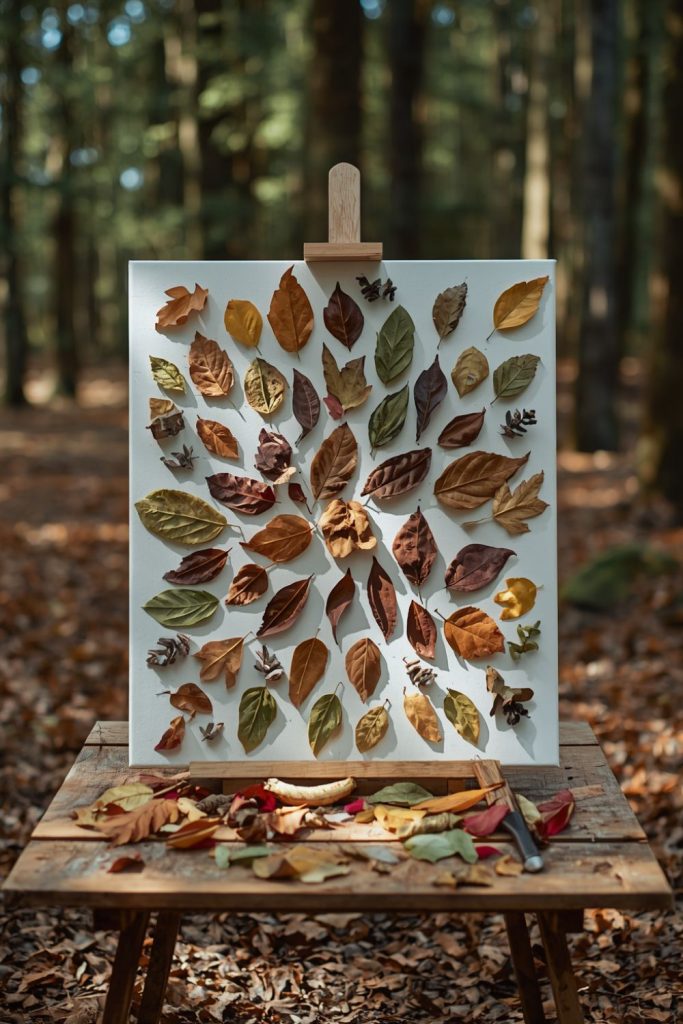
Foraged Nature Collage Canvas
Leaves bark and small natural finds can be arranged into flat visual compositions on canvas.
Steps
1 Collect flat natural items during walks
2 Prepare blank canvas surface
3 Arrange items into pattern or shape
4 Glue pieces carefully in place
5 Let dry completely before display
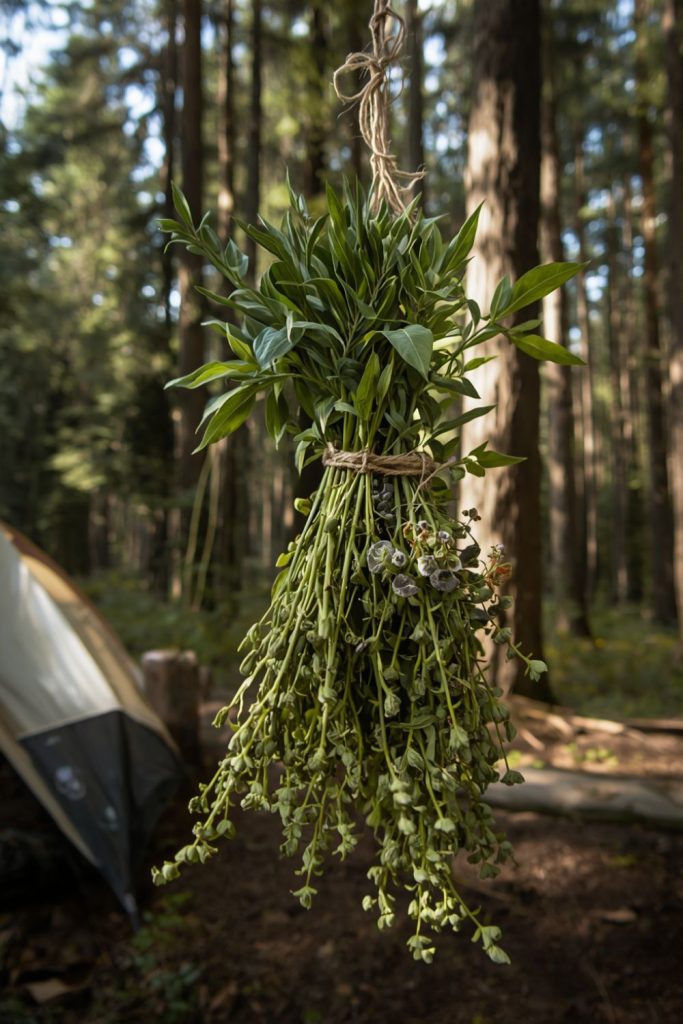
Twine Tied Herb Bundles
Herbs collected safely can be tied and dried for natural scent and decoration.
Steps
1 Gather small safe herbs or pine leaves
2 Group them into small bunches
3 Tie base tightly using twine
4 Hang bundles upside down in airy space
5 Leave until fully dry
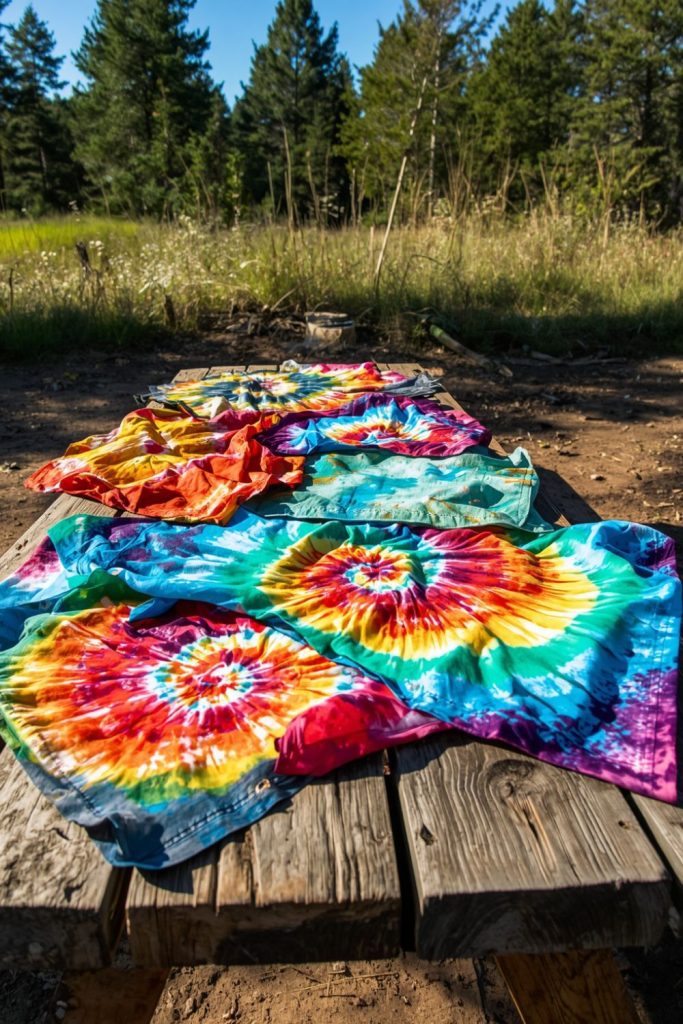
Tie Dye Camping Bandanas
Color patterns on fabric give bright memory pieces from outdoor days.
Steps
1 Wet bandana lightly before dyeing
2 Twist or fold fabric in chosen pattern
3 Apply dye in different sections
4 Leave fabric to set color
5 Rinse and dry in open air
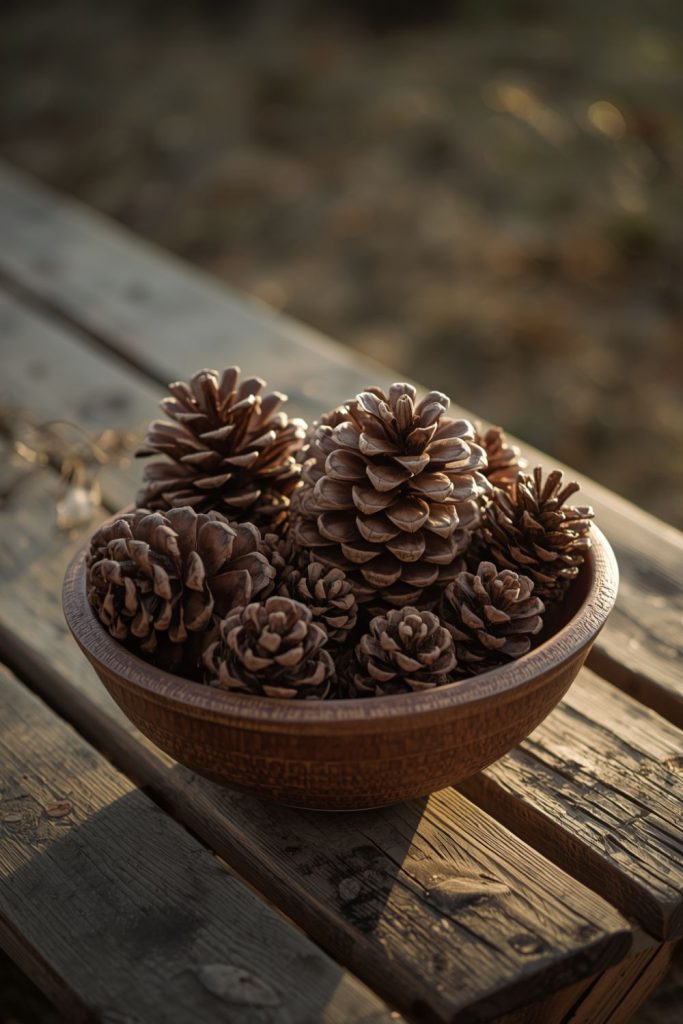
Pinecone Decorative Arrangements
Pinecones can be arranged into simple display pieces for tables or shelves.
Steps
1 Collect clean dry pinecones
2 Brush off dirt gently
3 Arrange in bowl or tray
4 Add small natural accents like leaves
5 Place in indoor or outdoor space
Driftwood Mobile Sculptures
Balanced driftwood pieces can hang and move gently with wind.
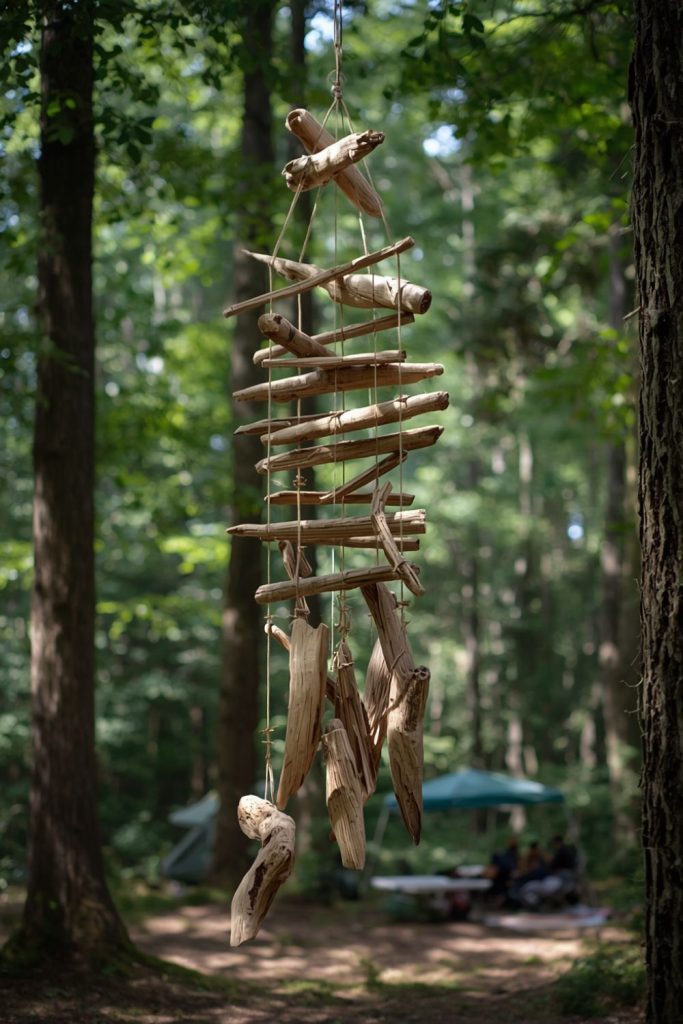
Steps
1 Select several small driftwood pieces
2 Drill or tie holes carefully
3 Connect pieces using thin rope
4 Balance structure by adjusting lengths
5 Hang in open space
Stone Balancing Sculptures
Stacking stones creates calm outdoor activity and visual display.
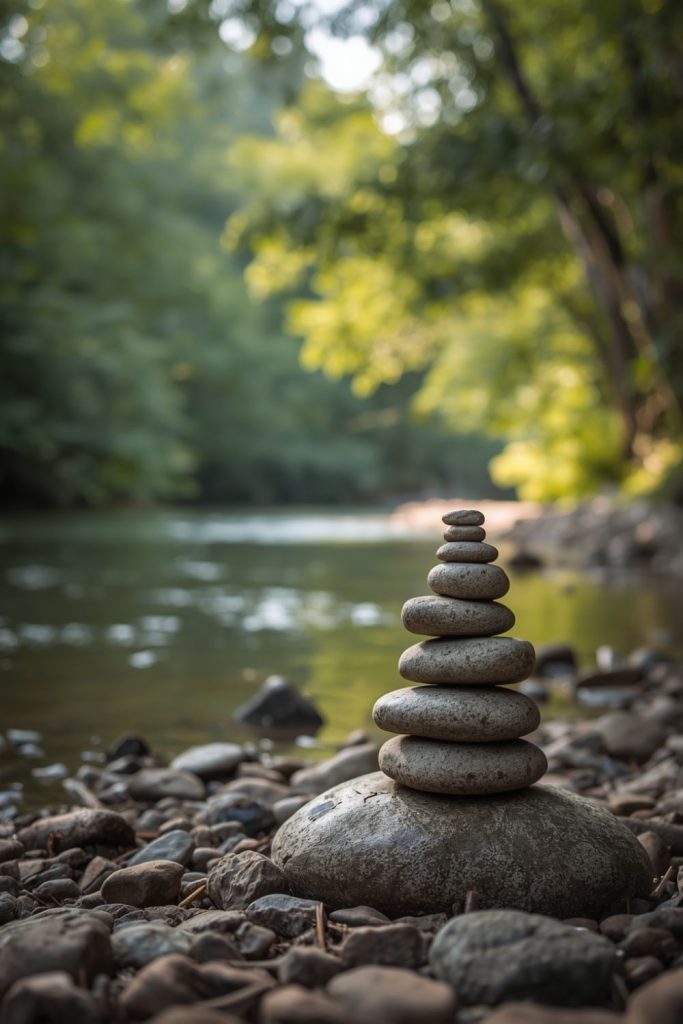
Steps
1 Find flat smooth stones
2 Choose stable base stone
3 Stack slowly adjusting balance
4 Try different shapes carefully
5 Leave sculpture standing naturally
Leaf Impression Clay Tiles
Leaves pressed into clay leave clear natural patterns after drying.
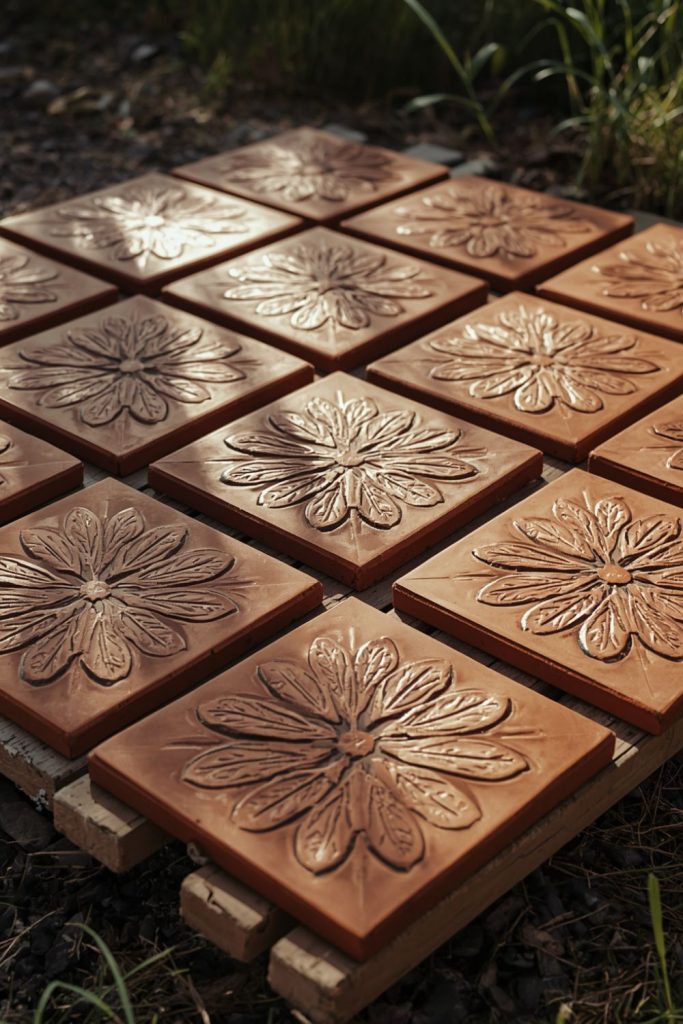
Steps
1 Flatten clay into small tile shapes
2 Press leaves firmly into surface
3 Remove leaves gently
4 Let clay dry fully
5 Optionally paint lightly
Nature Ink Fabric Pattern Prints
Natural ink or pigment can be used to stamp patterns on fabric.
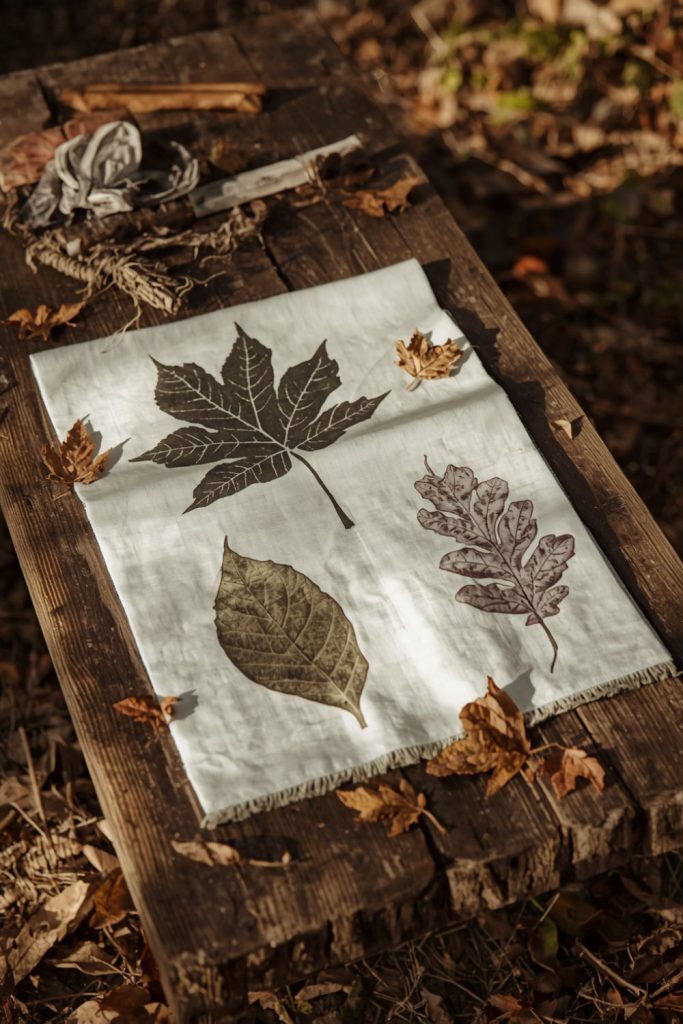
Steps
1 Prepare natural ink or safe pigment
2 Dip leaves or objects into ink
3 Press onto fabric surface
4 Repeat pattern slowly
5 Allow fabric to dry completely
Campfire Glow Jar Decorations
Jars decorated to reflect warm campfire feeling create soft evening glow.
Steps
1 Clean glass jar thoroughly
2 Add small decorative items inside
3 Place LED light or candle safely
4 Decorate outside surface lightly
5 Use during evening light